This is the 499th post of this little old blog, so I thought I would try and share some tips that have helped me out when cutting out pattern pieces in dressmaking. They might help you too!
Tip #1:When I first started sewing clothes, I cut out my fabric and pattern pieces on the floor. Carpetted floors were both a blessing and a curse - a blessing in that it was at least soft on the knees, but a curse in that I'd end up pinning my fabric to the carpet, carpet burn on my knees were a reality and the points of dressmaking shears always got caught in the carpet loops.
Sometimes I'd have to move furniture around so I would have enough room to cut out. And not only that, being on my hands and knees for up to half an hour, spreading fabric, working out the best cutting position for the pattern and then pinning and cutting is painful. As in ouch.

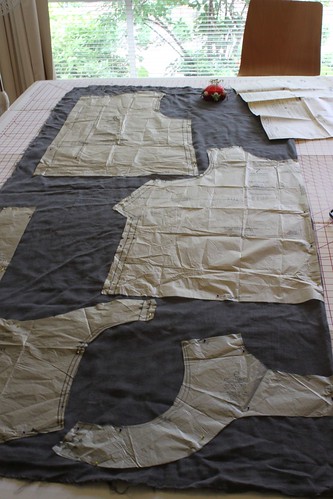
Then one day I was given a cutting board. My sewing life changed. This board is just cardboard, folds up to lean against the wall or in behind book shelves, and basically extends and protects your dining table or kitchen bench to make things easier to cut out. Fabric sits flat on the board. It's brilliant - no more sore knees, no more pushing furniture (other than dining chairs) around.
And the best thing is they cost between $20 and $25 at most sewing stores.
Tip #2:Every sewer should have a pair of
Good Scissors for dressmaking. Mine are Fiskars Soft Touch. They are ergonomic and have a blunt end, so when Dropsy McDropthings (a.k.a. me) drops these, they don't spear into her foot or the cork tiles. I've had mine for years and have used them constantly. And they still haven't needed to be sharpened.
 Tip #3:
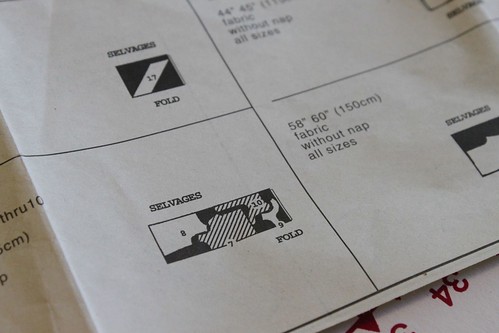
When you are cutting out your pattern pieces, you will notice on the instruction sheet some diagrams for how to lay out your pattern on the fabric length, depending on fabric width, size, and nap. Nap? Basically it means fabric that has a direction in the print or the texture. It means you need to think about the fabric being the right way up so your daisies aren't upside down on the back of your dress, and right side up on the front.
So I look at these diagrams ... and then ignore them. Because in my experience they are usually wrong, or waste too much fabric. And on the issue of wastage, it usually pays to cut out your pattern pieces first, lay them out on imaginary fabric (of both 45 inch and 60 inch width fabric) on your cutting board, and then measure how much fabric you'll actually need. Write this new calculation down on the back of your pattern envelope. A very useful tip if you are looking buying expensive fabric!
 Tip #4:
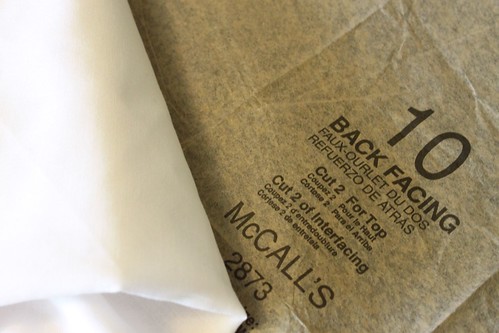
When your pattern says "cut 2 interfacing", do it. Interfacing gives your fabrics shape and muscle. It is usually used in skirt yokes and shirt and jacket facings. I use soft woven iron-on interfacing, and I buy 4 metres of it at a time so I always have it on hand. Don't be tempted to not use it, because your skirt/shirt/jacket will end up looking like a sad old rag.
So what cutting out tips can you share? I'd love to hear them because I know there's always a better way of doing things!