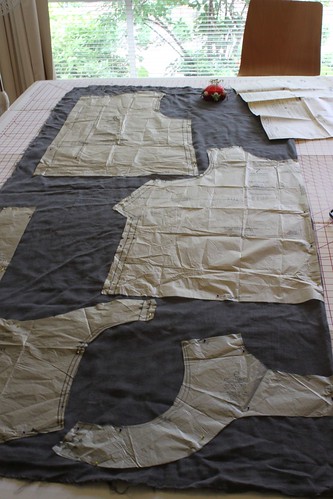
This is the 499th post of this little old blog, so I thought I would try and share some tips that have helped me out when cutting out pattern pieces in dressmaking. They might help you too!
Tip #1:
When I first started sewing clothes, I cut out my fabric and pattern pieces on the floor. Carpetted floors were both a blessing and a curse - a blessing in that it was at least soft on the knees, but a curse in that I'd end up pinning my fabric to the carpet, carpet burn on my knees were a reality and the points of dressmaking shears always got caught in the carpet loops.
Sometimes I'd have to move furniture around so I would have enough room to cut out. And not only that, being on my hands and knees for up to half an hour, spreading fabric, working out the best cutting position for the pattern and then pinning and cutting is painful. As in ouch.
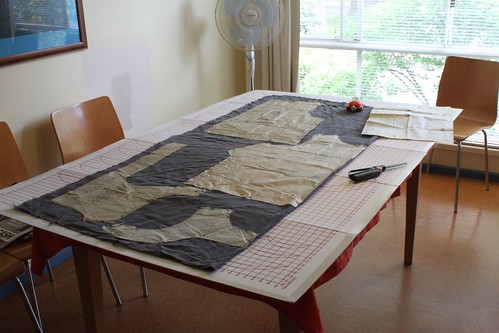
Then one day I was given a cutting board. My sewing life changed. This board is just cardboard, folds up to lean against the wall or in behind book shelves, and basically extends and protects your dining table or kitchen bench to make things easier to cut out. Fabric sits flat on the board. It's brilliant - no more sore knees, no more pushing furniture (other than dining chairs) around.
And the best thing is they cost between $20 and $25 at most sewing stores.
Tip #2:
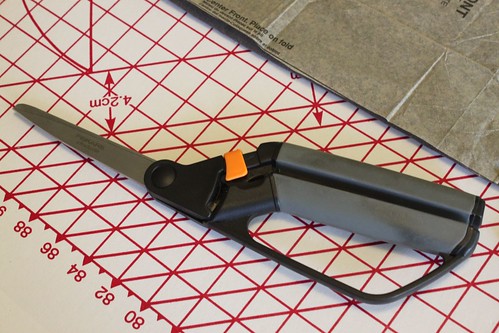
Every sewer should have a pair of Good Scissors for dressmaking. Mine are Fiskars Soft Touch. They are ergonomic and have a blunt end, so when Dropsy McDropthings (a.k.a. me) drops these, they don't spear into her foot or the cork tiles. I've had mine for years and have used them constantly. And they still haven't needed to be sharpened.
Tip #3:
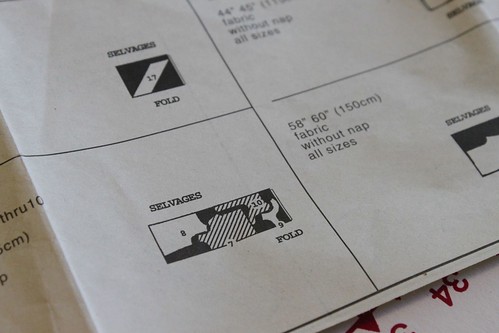
When you are cutting out your pattern pieces, you will notice on the instruction sheet some diagrams for how to lay out your pattern on the fabric length, depending on fabric width, size, and nap. Nap? Basically it means fabric that has a direction in the print or the texture. It means you need to think about the fabric being the right way up so your daisies aren't upside down on the back of your dress, and right side up on the front.
So I look at these diagrams ... and then ignore them. Because in my experience they are usually wrong, or waste too much fabric. And on the issue of wastage, it usually pays to cut out your pattern pieces first, lay them out on imaginary fabric (of both 45 inch and 60 inch width fabric) on your cutting board, and then measure how much fabric you'll actually need. Write this new calculation down on the back of your pattern envelope. A very useful tip if you are looking buying expensive fabric!
Tip #4:
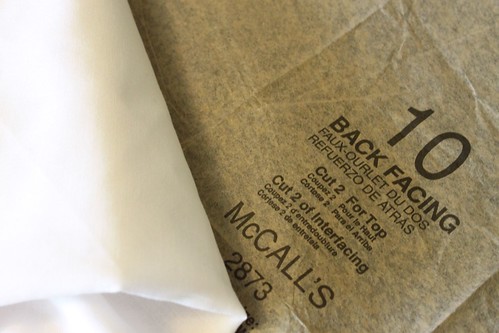
When your pattern says "cut 2 interfacing", do it. Interfacing gives your fabrics shape and muscle. It is usually used in skirt yokes and shirt and jacket facings. I use soft woven iron-on interfacing, and I buy 4 metres of it at a time so I always have it on hand. Don't be tempted to not use it, because your skirt/shirt/jacket will end up looking like a sad old rag.
So what cutting out tips can you share? I'd love to hear them because I know there's always a better way of doing things!

Sadly I'm a taker but not a giver of sewing tips given how inexperienced I am.
ReplyDeleteHowever, I wholeheartedly agree with you about having a good pair of scissors. I've got a fantastically solid pair that makes such a satisfying sound when cutting through fabric. They were also the subject of a 'do not use these for cutting wrapping paper' rant recently...
We have the same scissors - I also have a smaller snippy pair from Fiskars and love love love them to bits.
ReplyDeleteGreat tips !
You could add another tip to that list, beware the crazy stalkers in the fabric shop! Have to say that I will never forget watching that crazy lady follow you through lincraft all those years ago.
ReplyDeleteCouldn't agree more with the fabric cutting guide/wastage!! I picked up a cutting board from the salvos about three years ago now for the grand sum of $5 and I can't imagine how many scratches and dents my table would have without one!
ReplyDeleteThanks for those tips. I am going to get a cutting board ASAP. I helped my partner's daughter make a skirt recently for her textiles class and she got into trouble from the teacher for cutting the marking triangles into the pattern rather that pointing outwards. I have always done it that way.....
ReplyDeleteGreat tips there, thank you! The cutting board one especially, I always hurt my back when cutting out ... those Friskar scissors look great too, I'm not happy with my current snips.
ReplyDeleteI cut out my patterns on the floor, having polished floors all throughout the house is definitely a boon. I save my knees by kneeling on those foam mats that lots of crafty peeps use for blocking, much softer than a hard wood floor :-)
ReplyDeleteMy Mum has started using her quilting cutter (rolling blade thingy-obviously can't remember what it's called, have no idea where my brain is right now) to cut out some of her patterns now.
The Melbourne Macarons sound delicious - I will have to look them up!
ReplyDeleteMine are slacker tips - don't use these for expensive fabric.
ReplyDelete- don't bother pinning - use tins of food or books all over the pattern pieces to hold them down.
- don't cut out the pattern pieces first - or just cut around them really roughly - enough to separate them to lay them on the material.
- cut short notches into the pieces, instead of triangles out of them to help in matching the sewing up.
- pin pieces together with the pins at right angle sot the seam for quicker sewing and pinning.
and a real tip for proper sewing - Iron your seams as you go - the result will be far more polished.
Cass
Fantastic tips Michelle! I have those scissors too - they are great! I like Cass's tips as well, I must say! I am lucky enough to have a cutting mat the size of the dining table that lives in my sewing room, which makes things very easy.
ReplyDelete