Wednesday, November 30, 2016

300 stars to go

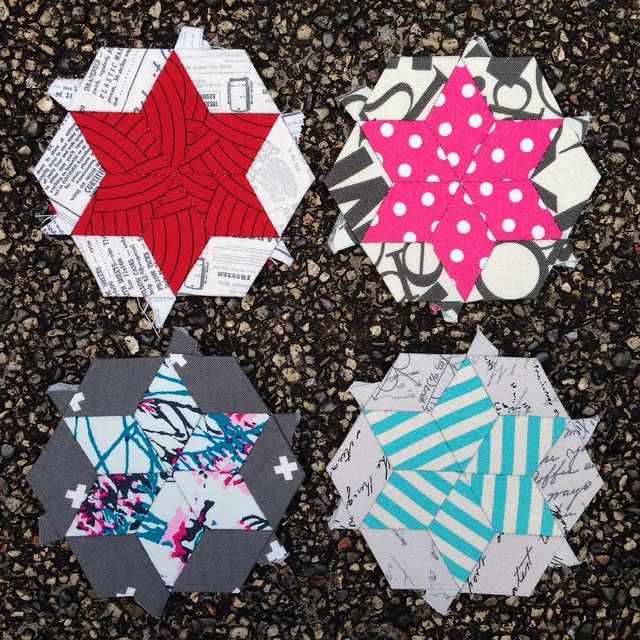
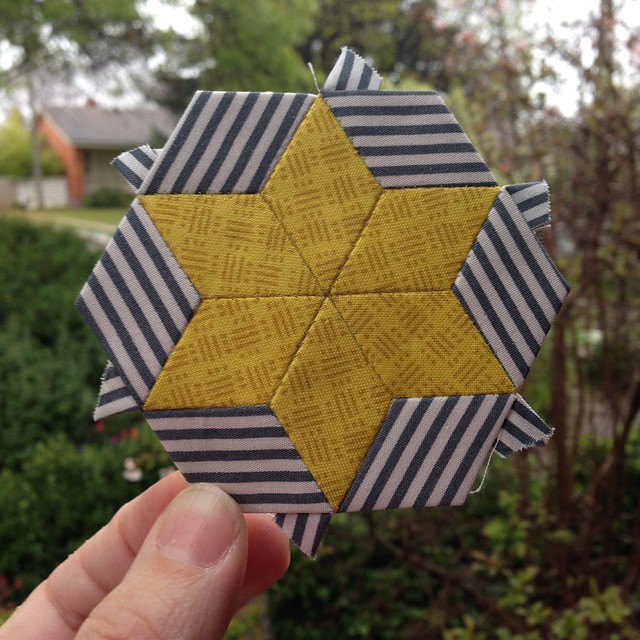
I've been diligently (mostly - a couple of times there has had to be a bit of a catch up!) making a star a day since September 27, and I've made 65 so far. 

image

I can't tell you how much fun I'm having with this project! Just the simple act of sitting down for 30 mins each day to make one simple star by hand is so calming, especially when worries come up.

Untitled

I have a coffee at lunch at my favourite cafe and I make stars. I went home to Cairns recently and I made stars there too. I sit in waiting rooms and glue papers for the following week or make a star. I've made stars that other people have picked the fabrics for. I've made stars while I have breakfast.

image

image

I'm going to be making stars for another 300 days, and I'm not at all unhappy about that.

image

Sunday, November 13, 2016

How to applique your EPP without pins and stress - a tutorial

I was making a Project 48 block last night where the instruction was to applique the EPP to a background fabric. It's something I do quite often in my EPP projects, but I find when I explain the concept to people, they sometimes don't understand how I do it, or how easy it is. So on finishing this block, I thought I'd do a little photo tutorial to show you.

This technique works with either blocks, or entire quilts, or side strips. 

(And I'll apologise now for the state of my hands and the macro shots. I've been gardening like a mad woman the last couple of weeks so my hands are a mess; and my little Canon camera has a mind of its own on the macro setting, giving me a horrible glamour filter each time. It's like a freaking Doris Day movie every time I look at the photos. Probably best given the state of my hands, but sorry about that.)


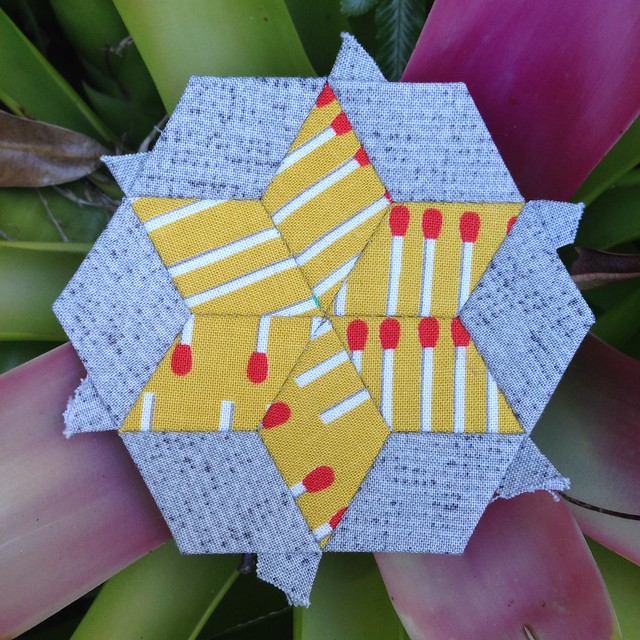
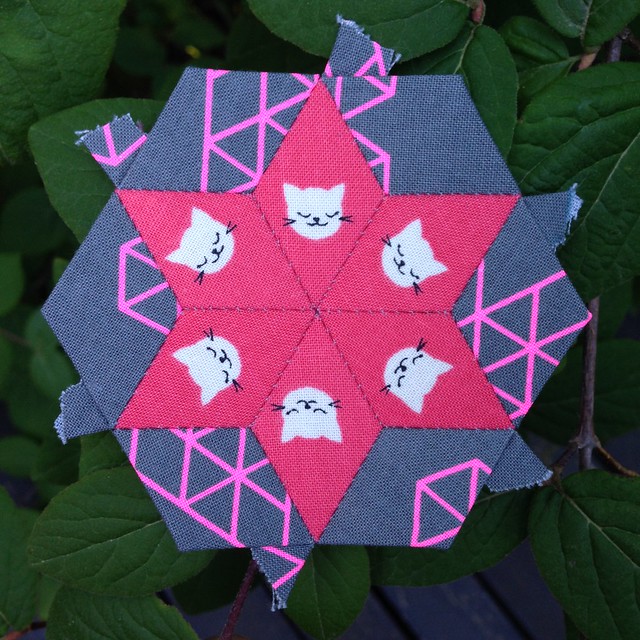
So this is your finished EPP block, unpressed but still gorgeous.


And here is the back of it.


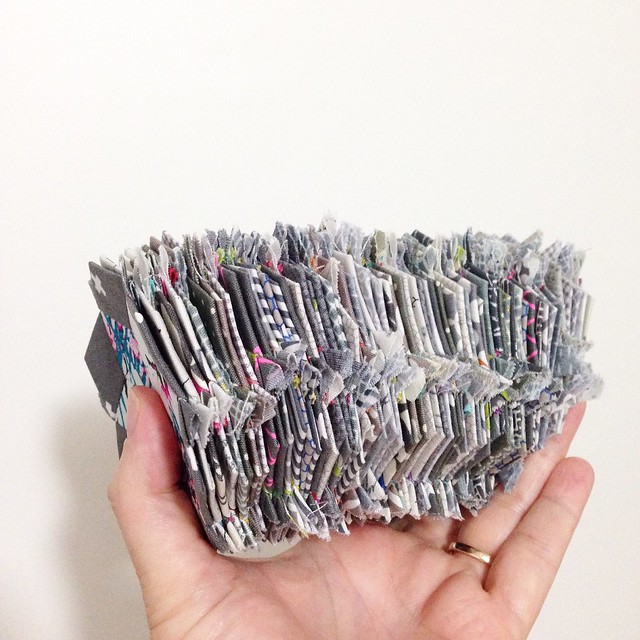
Give the back a bit of a press with a hot steamy iron. Don't push back and forth. PRESS. You want to put a permanent crease in those outer shapes, especially.


If you've glue basted as I have, take a cuticle stick (one of the wooden ones you get in packs of 3 at Priceline) and gently use it to lift the fabric from the paper. It will kind of pop. 

If you have used a scant amount of glue, kept the glue away from the edge, and used a decent seam allowance, this will be easy. If you haven't, then you're doing EPP wrong. Sorry, but you are. I'll come by another time and show you how to EPP properly, I promise.


Use your cuticle stick to lift out the papers as you release them from the glue. 

Or if you have thread basted, just clip the threads and pop the papers out!


This is the back of the block after all the papers have been removed. Don't worry about the seam allowances that have lifted, because ...


... you'll get the chance to give them a bit of a press. Again, PRESS, don't move the iron back and forth. You want those seams to maintain integrity. If any of the seams move and go a bit skewiff, just use your fingers to re-position them and press them gently back into place (preferably without burning your fingers). Easy!


Grab your spray starch of choice. Mine is Crisp because I can get it easily at my IGA. Yours is probably something else a lot cooler and funkier. It doesn't really matter. 

Give the front a quick spray of the starch and press with a dry iron. Do the same with the back, pressing so you don't dislodge all the fine work you have done with your seam integrity :).

Your EPP block is now prepared for the next step!


Take your background fabric, and press it in quarters and open it back out so that you have registration lines for placing the EPP on top of it.


Position your EPP on top of the background. See how it is centred perfectly?


Roxanne basting glue is your new little friend. I use the one with the steel nozzle because it makes gluing minimal and accurate. Very important!


Fold your positioned EPP block gently forward at the half way line without moving it off the position you placed it in. Gently dab a little dot of glue inside the seam line, just on the corners will do it. This is where it pays to have a 3/8 inch seam allowance on your EPP. Trust me - you do NOT want this glue anywhere near where your needle will be because it when it is hard it is damn near impossible to get your needle through it and your will curse this technique forever and ever. 


When you have glue dots on all the corners, gently flip your block back to where it was originally. 


PRESS the glue dry with your iron (dry iron).


Now flip the bottom half back and dot with glue again. Don't forget to also add glue at the seam allowance near the centre line. Flip it back...


...and press. The glue should now have dried. 


This is how I double check it's all attached. Just kidding. But look! No pins required!


Find your best matching thread. I use Superior Egyptian cotton exclusively for all my applique because it's bloody lovely. And no one is even paying me to say that. I get it in the donuts in all the colours because I do so much applique in so many bright colours. But other people swear by Aurifil 50/2 cotton, or silk, or Superior bottom line. Use whatever you can afford and whatever suits the work you do.

As for needles I only ever use Clover Gold Applique No. 10. I tried the Hiroshima Tulip needles but they weren't as bendy for my style of applique (I swear by Tulips for EPP though). Again, use the needle that suits you the best.


Knot your thread and come in from the back. Start a little beneath the applique, and just catch a couple of threads at the seam fold.


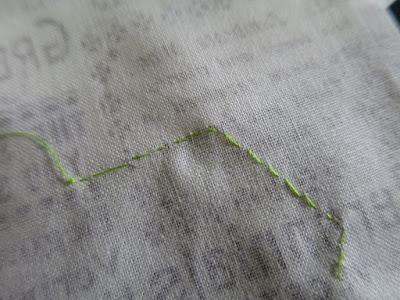
I do a stitch every 2-4 mm.  Depends on the curves an intricacy. But this is an EPP block with straight edges - every 4-5 mm will do the trick.


The points are important. Make sure you take a stitch at each one to secure it. If you don't, your points can invert when you wash or iron the block again.


And here's what the back looks like.

Keep going until the whole block is appliqued. You can choose to cut the back out if you like, later. Just carefully trim 3/8 inch inside the stitching lines with sharp scissors, making sure you don't cut through the front part.

And there you have it! Told you it was easy!

Please ask any questions in the comments below and I will answer them there. Hopefully you'll find this tutorial helpful!
Sunday, October 30, 2016

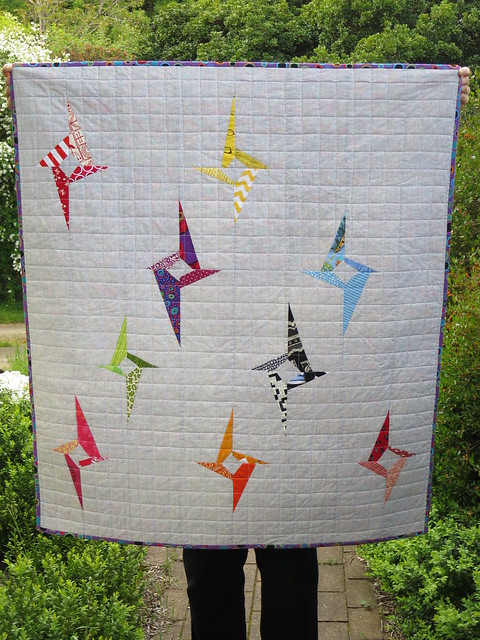
Finished: A baby quilt for S

It hasn't happened very often in my working life but I'm currently working in a close-knit team of very supportive colleagues who also double as Very Lovely People. Two of those Very Lovely People are having babies very soon, and I love to make quilts that people will use, so win-win, right?

Baby Quilt for Sam

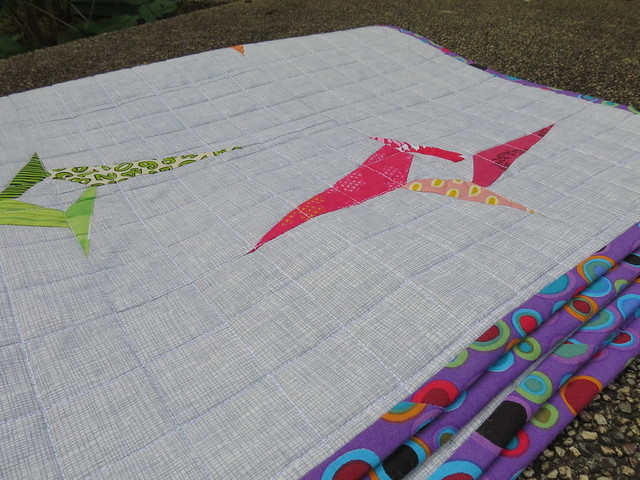
My colleague S finished up work last week so I rushed to finish this UFO from a few years ago. I made it as part of a Craftsy class on improv piecing with Jacquie Gering. I pieced the top and then never knew what to do with it so I put it aside. It turned out to be the perfect size for a baby.

I found some wool batting in the stash - cotton is my preferred batting for home-quilting, mainly because it's sticky and quilts don't tend to pucker, but for a Canberra baby playing on the floor, I think wool is a nicer batting.

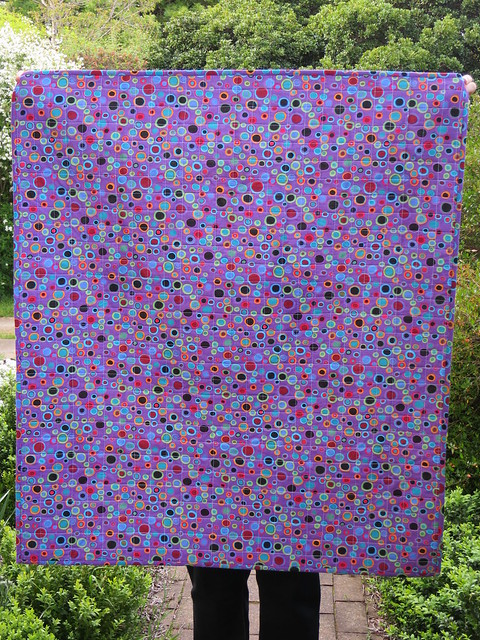
Baby Quilt for Sam

I am really enjoying using up the bigger bits of my stash as backings at the moment. This one is a very old Kaffe Fassett print. I bought it for $2 a metre back when Home Yardage were still in Canberra, I suspect around 2003. I bought it in another colourway too - I remember asking the cutter if he realised how cheap this fabric was - it normally went for $27 a metre at the quilt stores. He told me he had no idea who Kaffe Fassett was. No wonder they went out of business...

Baby Quilt for Sam

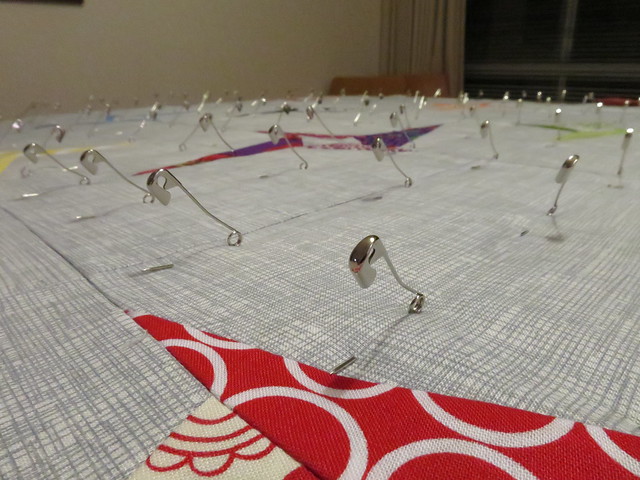
I basted on the kitchen table and quilted it in 90 minutes. Just straight lines in a grid pattern using the heavier-weight Aurifil 28/2 thread, but it will be chucked up on and dragged through the garden and used for rainy day forts, so it needed to be durable.

Baby Quilt for Sam

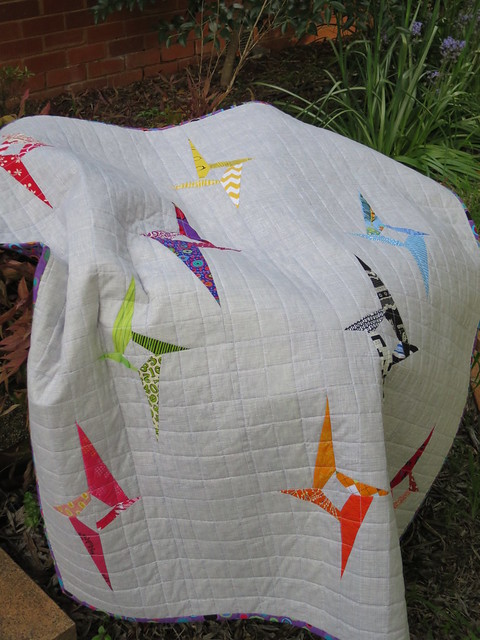
Because the top had been sitting around for 3 years collecting dust, and the backing had been in my stash for about the last 13 years, I gave it a wash and tumble dry after binding it. It stood up to the abuse really well, and then I steam ironed it on the linen setting so it at least looked nice enough to gift. She loved it. Her husband loved it. Her little toddler loved it. I'm so happy it's going to people who appreciate fine art quilts. I hope her baby boy enjoys it for years and years.

Baby Quilt for Sam

Details:

Pattern: Swirling Stars by Jacquie Gering (Crafty class)
Size: 54" x 40" 
Fabric: stash and scraps; and Sketch by Timeless Treasures as the background (I think!)
Quilting: Machine quilted, straight lines, using Aurifil Mako 28/2 thread in white (2024)
Batting: bleached 100% cotton
Started: July 2013
Finished: 20 October 2016

Tuesday, October 11, 2016

Finished: The gluten-free, dairy-free, vegetarian, farmers' market quilt

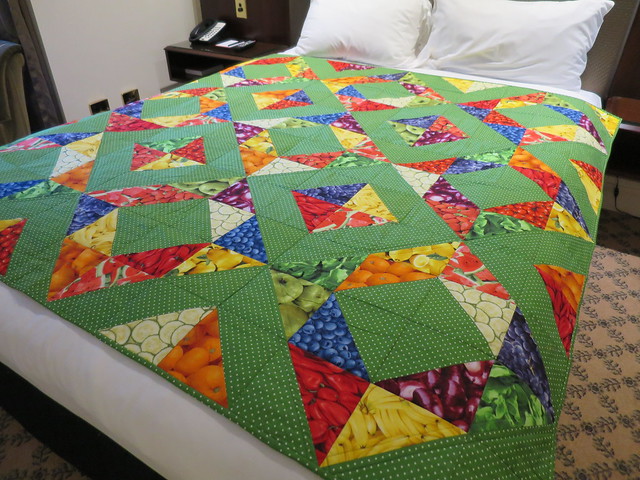
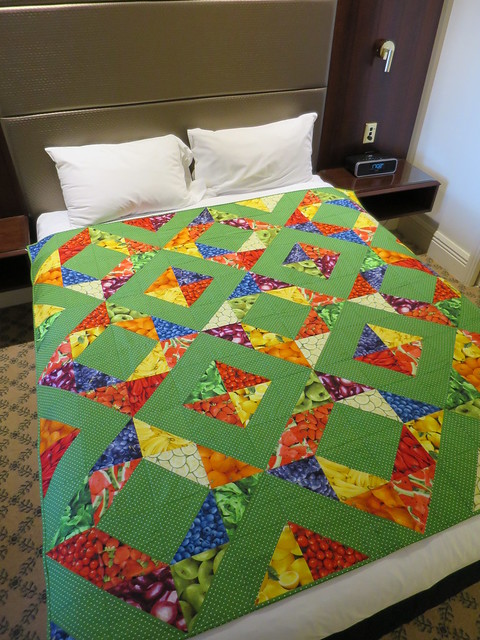
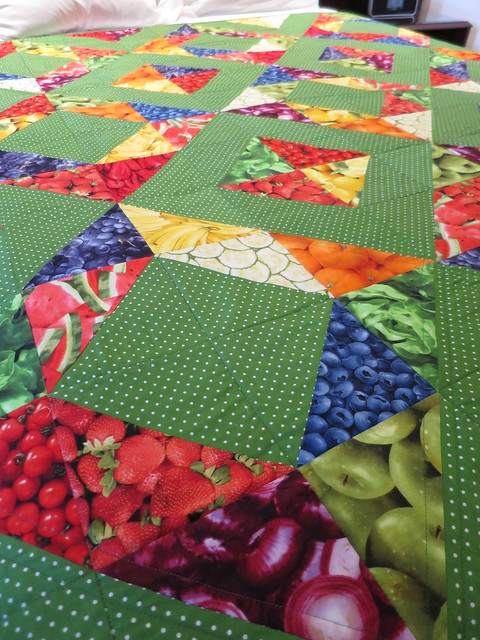
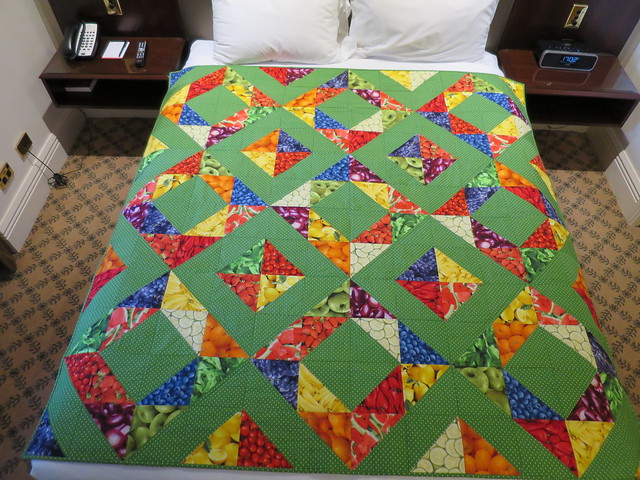
This is a story about Helen's quilt. In mid-2013 I started making a quilt out of fruit and vegetable fabrics - all purchased when I was at the SCQuilters retreat in Townsville in 2012. I loved how quirky the fabrics were, but had no idea what to do with them originally. I ended up piecing a quilt made from half-square triangles with the intention of giving it to my friend Helen for her birthday. She has to avoid dairy and gluten and is also a vegetarian and is super healthy so she was the perfect recipient. Plus she has the BEST sense of humour so would totally get it.

Farmers' Market quilt

Four of us were driving to Melbourne for her 59th birthday party/house renovation warming party in late August 2013. One of my friends was already making her a quilt, and life happened, and quilt exhibitions, and I ended up not getting the quilt finished in time. No matter, I thought. I've made her two quilts before - I'll give it to her on her 60th.

I haven't been to Melbourne as much as I'd have liked to over the last couple of years and I just never really thought much of that quilt again for some reason. But I'd made plans to have a little holiday in Melbourne by myself around the long weekend recently and was going to see Helen (5 weeks after after her 62nd birthday - bad friend!) so 4 days before I left I decided to finish the quilt and give it to her.

Untitled

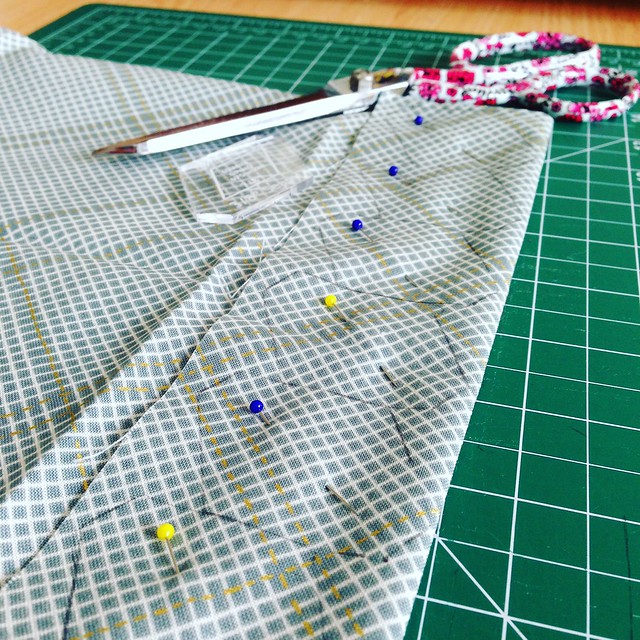
The piecing of the back took me half a day. Normally it would take half an hour. I just couldn't seem to grasp how a tape measure worked. But I finally got my shit together, basted it, quilted it and bound it. I managed to get a lot of gardening, a lunch out, two swims, and an afternoon drinks session with sewing friends in that time. It helps that I didn't quilt it that heavily, I suppose. Also I'm a super-fast binder. I LOVE binding.

Farmers' Market quilt

I took these photos in my hotel room an hour before I met Helen for dinner in Northcote. She loved her quilt. For once I've made her a quilt for her bed (it is 60 inches, so a bed topper) rather than her wall which makes me happy. I like keeping my friends warm, especially those I've known for more than half my life and who now live so far away.

Farmers' Market quilt

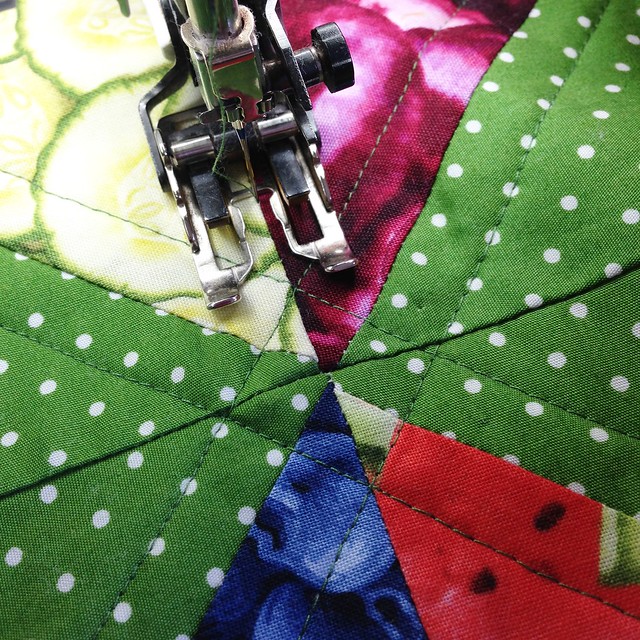
I quilted it with Aurifil thread 50/2 weight in a green colourway. It blends really well with the quilt. I did a diagonal design half an inch away from the bigger diamonds, and then in the ditch horizontally and vertically. The quilting probably took me about 2 1/2 hours, but it is utilitarian and it definitely won't fall apart.

Farmers' Market quilt

Details:

Pattern: My own - using HSTs
Size: 60" x 60" (finished block size 5")
Fabric: Various fruit and vegetable fabrics; and a green and white spotted fabric background
Quilting: Machine quilted, straight lines, using Aurifil Mako 50/2 thread in green (2890)
Batting: bleached 100% cotton
Started: July 2013
Finished: 3 October 2016

Thursday, September 29, 2016

365 Stars

I love birthdays. A lot of people don't, for their own reasons, and that's fine. But five years ago some horrible stuff happened and I almost died, and since then I have tried really hard to see the good side of things, to enjoy every little moment, and to make the most of what I have been given. It gets a little tough sometimes, especially in the last 18 months with my husband picking up a disability, and with our families so far away. But we get by, and we still live a happy and simple life.

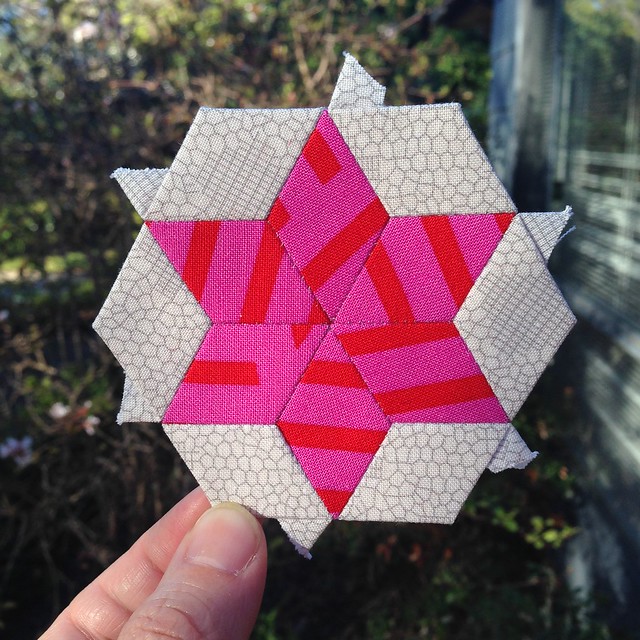
For my birthday this year I decided to start a new quilt project (surprise surprise), but with a bit of a twist. I'm going to make a star block every day for 365 days. And it's not just any star block.

Untitled

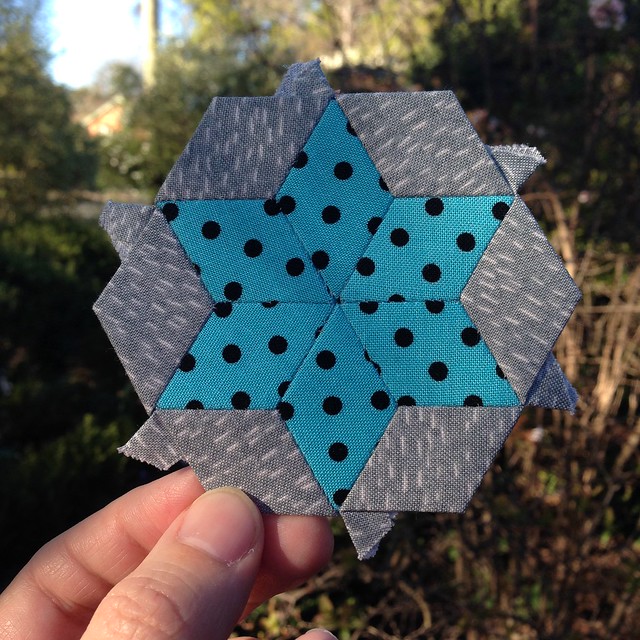
It's a teensy weensy star, and it's English paper pieced!
Untitled

I've made one every day for the last three days, starting on my birthday on the 27th but my husband bought me the papers as my birthday present over a month ago so I've been slowly preparing fabrics since then.

Untitled

I had decided I wasn't going to fussy cut any of the fabrics, but then the papers arrived and I realised the pieces were a lot smaller than I thought. So now if the fabric deserves to be fussed over, I will. Perhaps.

Untitled

Each star takes about 25 minutes or so. I've been sewing them after I have my shower and breakfast, while drinking my coffee, in the time I'd usually take to read the morning paper. It certainly makes me a lot less stressed in the morning, I've noticed. Some days I'll end up doing it in the evening, but as I've discovered, life is too short for hard and fast rules, and it's only quilting.

Untitled

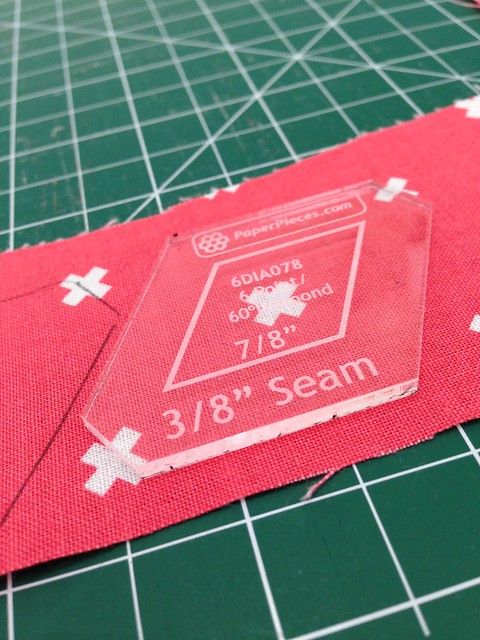
I'm using the pattern by Karen Styles of Somerset Designs. The pattern arrived with the plastic templates, but because I decided to EPP it instead of hand piecing, I got the papers and acrylic templates from Paper Pieces. I still haven't got much of a plan for these stars.

I'll probably just make it up as I go along. Should be fun!

Monday, September 12, 2016

Because quilting = pure joy

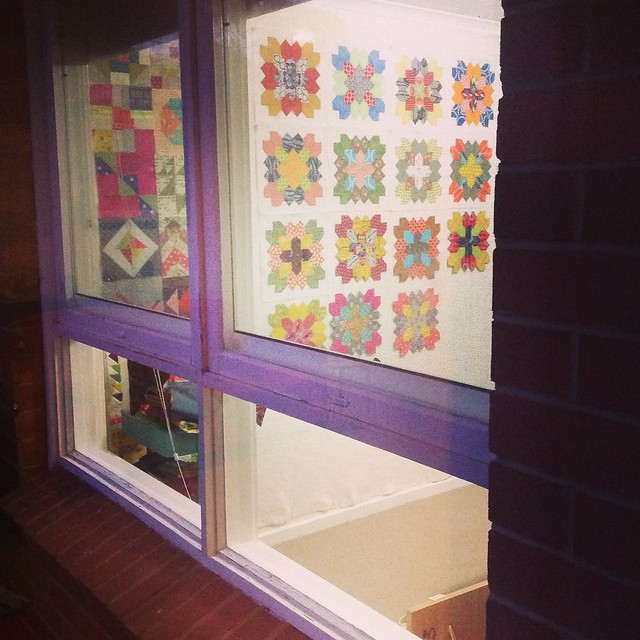
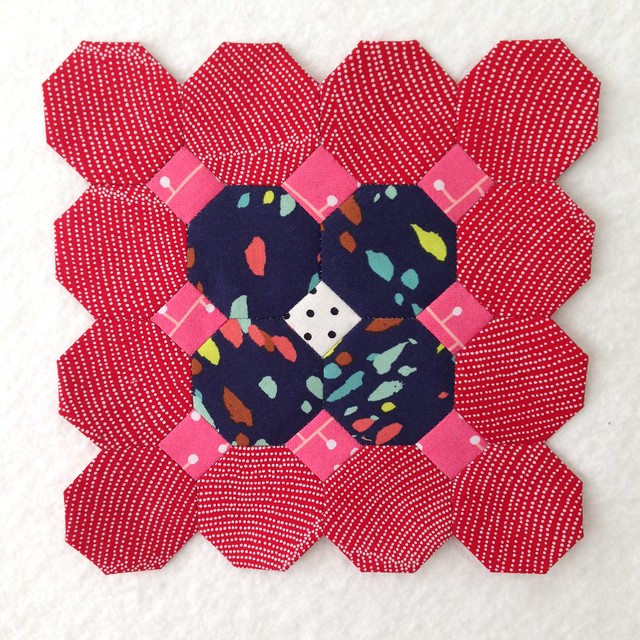
Gosh I'm loving quilting at the moment. I'm loving it so much that I have finished all but one of my Lucy Boston blocks.

image

(This is the view that greeted me when I was closing the curtains in the living room after dusk on Friday night. It's my sewing room from across the deck. We are so lucky to live in this old house.)

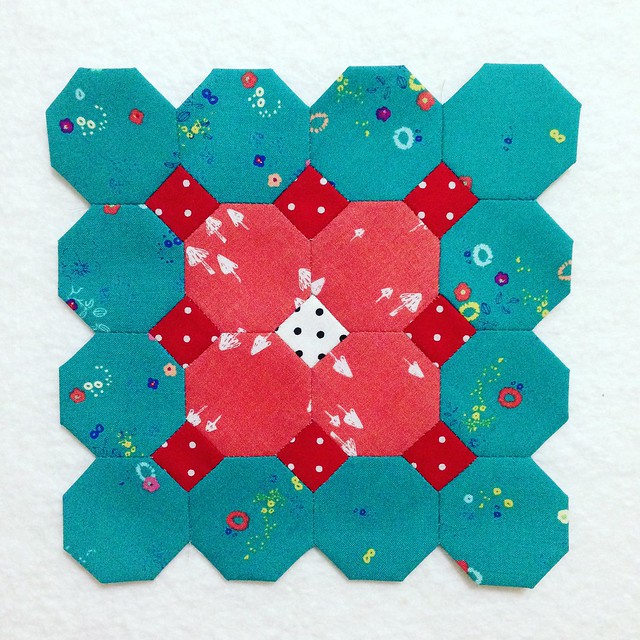
I also made plans for two new quilts - one I will tell you about in a couple of weeks, but the other is the Stepping Stones quilt by Irene Blanck. It has octagons and squares. I've loved this pattern for a long time, but then it popped up in the last Quiltmania issue. I've already made two blocks and goodness me I love them! The octagons and squares are 3/4 inch, which makes a small square but a large octagon. Perfect size for EPP.

Untitled

Untitled

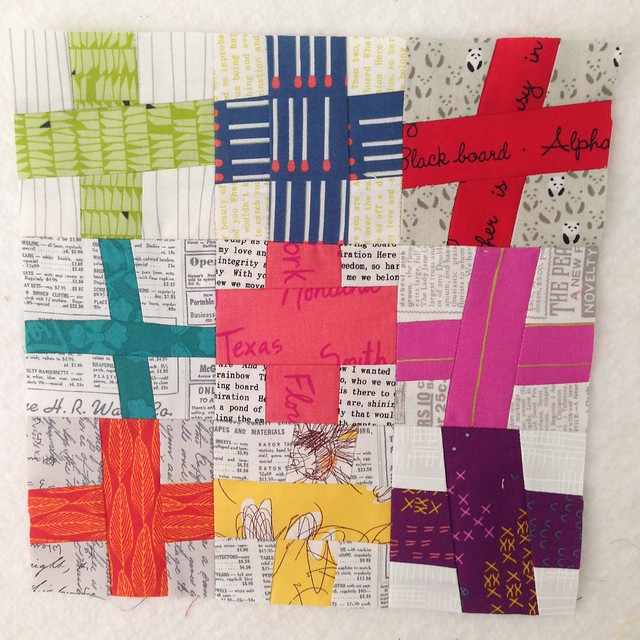
And I don't think I ever told you about Project 48 - it's a year long quilt with one block being issued a week. I started around Easter - a few months after most other people - and have made only half of the blocks so far, but it's been a lot of fun. Here are a few of the blocks.

Untitled

Untitled

Untitled

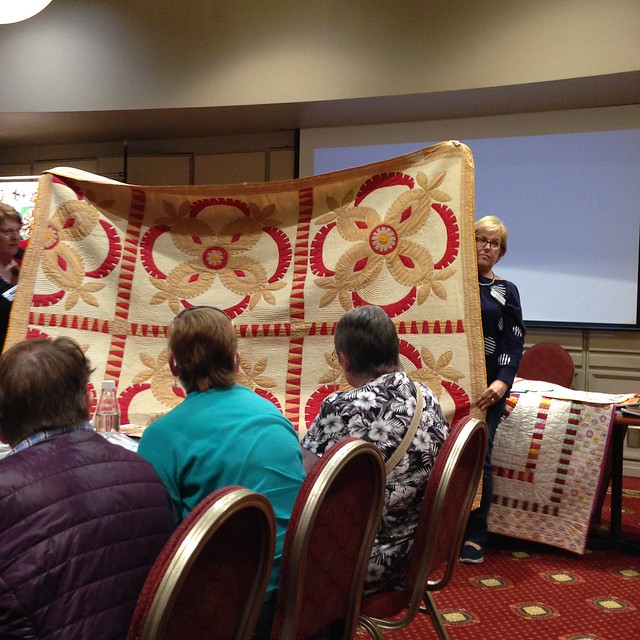
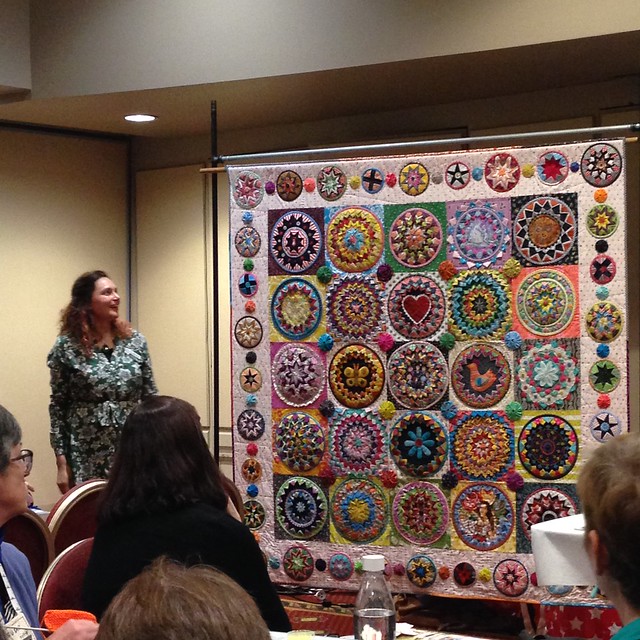
I also headed up to Sydney by myself a couple of weeks ago for a QuiltNSW general meeting. After over 20 years of us only owning one car, I bought a second car earlier this year. But because I mostly ride my bike to work each day it hadn't done many kilometres. And I felt like having a few hours alone listening to the Hamilton soundtrack (loudly) and working out the cruise control so off to Sydney I went for the day. I'd never been to a meeting before, but it was a wonderful day spent stitching, talking with old friends and making new ones. And it was informative as well with the guest speaker being Sarah Fielke talking about her old and new quilts the guild business meeting taking place, and Rachael was also there talking about her Best of Show quilt.

Untitled

Untitled

By the end of the day I felt a little bit tired but also exhilarated and inspired. It was such a fantastic Saturday. I'm so glad I'm a member of QuiltNSW - the members and committee have always been nothing less than welcoming to me since I joined a few years ago. I'm not as elegant with my words as Rachael, so head over to her blog post for more on the day. I can't wait to go to another meeting - hopefully I can get to the next one in October.

I think a lot of my love of quilting at the moment has to do with not having any exhibition deadlines hanging over me. As much as I don't let quilting stress or burn me out, I never realise how much of a commitment of time I've promised to it until the date of entry has passed and I suddenly have some free time. It's fun just creating for the heck of it when I have the time and the inclination to stitch.  Long may it continue!

(My garden is looking a bit weedy at the moment though! And I have a lot of quilts to blog.)