

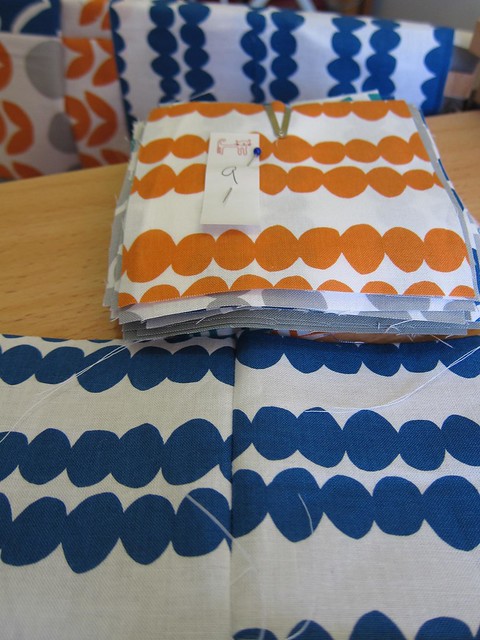
So you have all your squares laid out on the design wall, or the bed, or the floor, and you want to sew them together but you don't want to stuff it up.
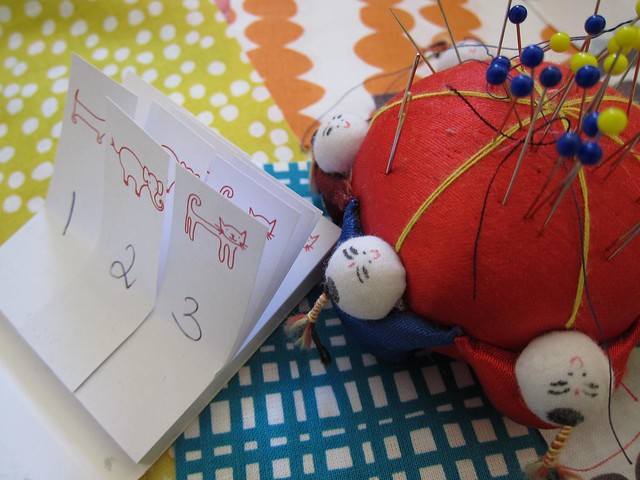
Take some scraps of paper (I use little post-its), a pen, some binding clips and some pins. Write the numbers of your rows from 1 to 'whatever' on each little piece of paper. I had 14 rows, so I wrote 1-14 on my paper.
Work out how best your brain works. What you are going to do is gather all those squares into 14 piles - one for each row. Decide now if you want to go left to right, or right to left and then stick to that. I go from left to right so that the far left block is always on the top of my pile. And I consider the bottom row as row 1. But you can do whatever you want to do.
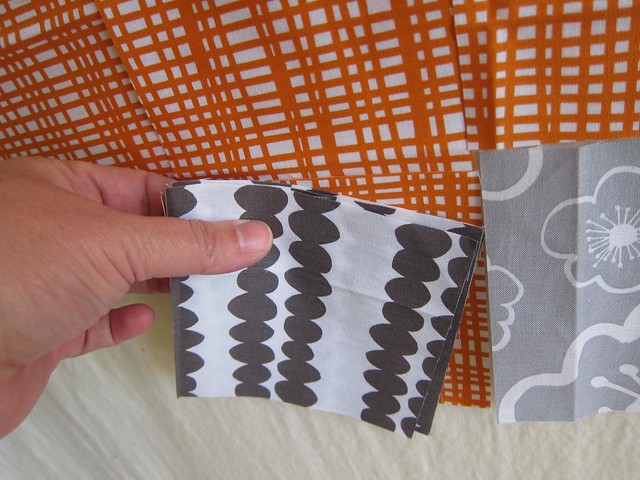
Grab those squares from the bottom row first, left to right (in my case) until you get to the end of the row.
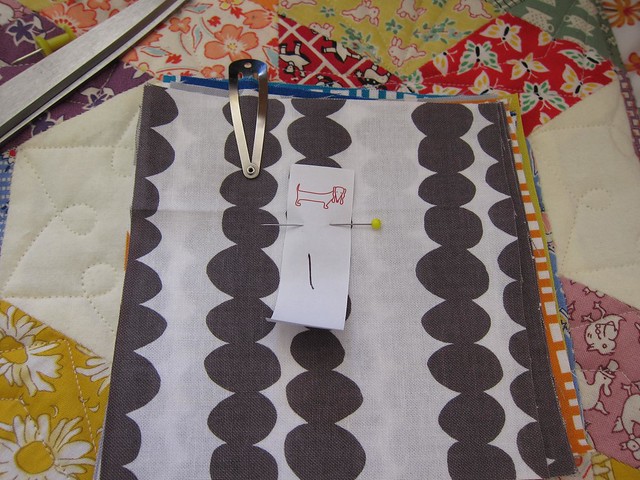
Clip all 14 squares with a binding clip, and then pin the number "1" to your first block and set it aside.
Keep going with each row until you get to the top. Clip, pin the next number on, etc.
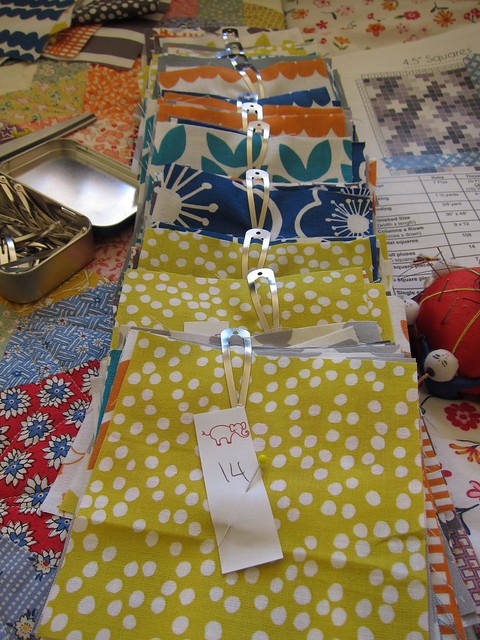
At the end, you should have 14 piles of numbered, clipped squares. Pretty!
Now head over to the sewing machine. But first things first. This is what I was faced with when I tried this yesterday. Seriously - my sewing room is getting ridiculous, but hey at least I have one.

But 10 minutes later (just don't expect to sleep on the spare bed anytime soon) I had this. Much better.
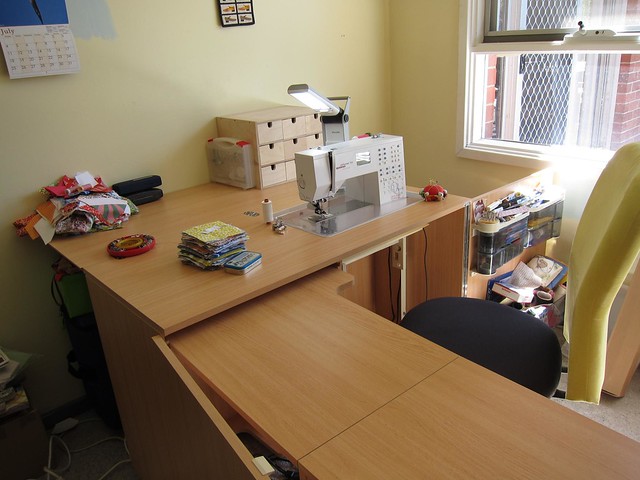
I have since thrown out that calendar ... which was stuck on July 2011.
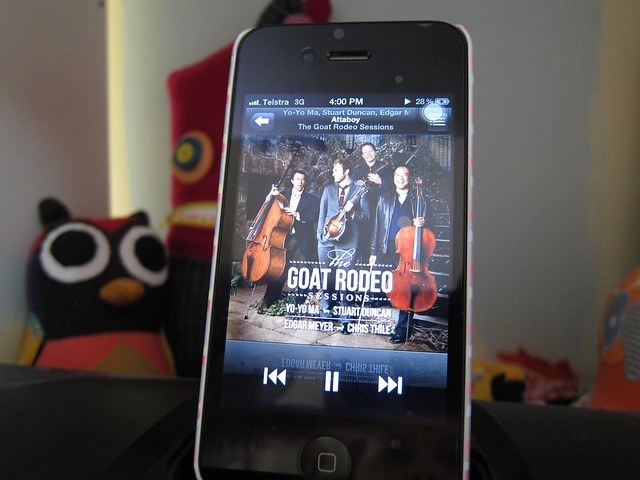
Put your favourite quilting music on. Normally I'm all for sea shanties, but yesterday I was in the mood for a little Yo-Yo Ma and Chris Thile.
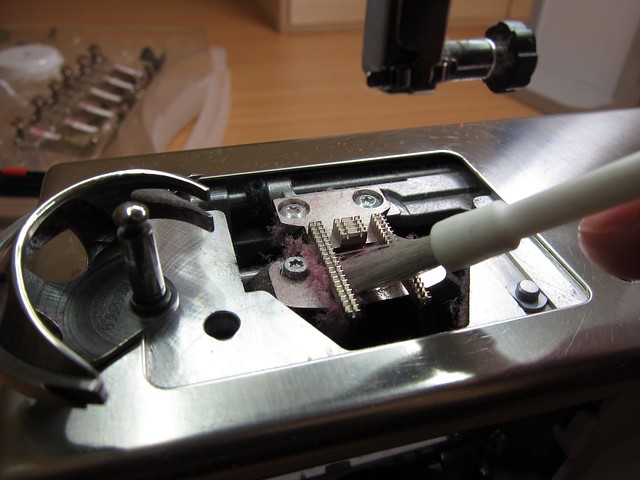
CLEAN AND OIL YOUR MACHINE. This is the first thing I've sewn since I quilted a big quilt last weekend, so I had a lot of lint to clean out.
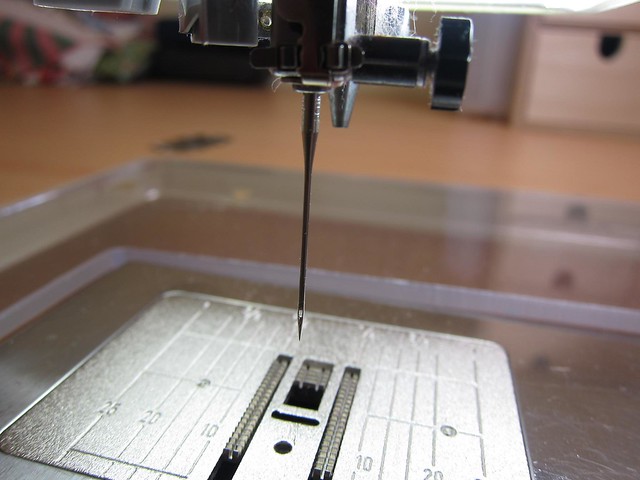
For heaven's sake change over to a new needle. Your quilt and your machine will thank you for it later.
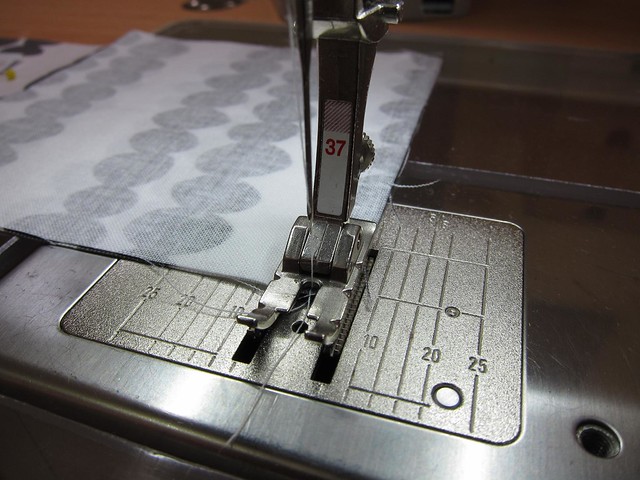
Take the pile labelled "1" and remove the first two squares.Sew them together at the side seam. Don't remove the pinned label - you'll need this for later.
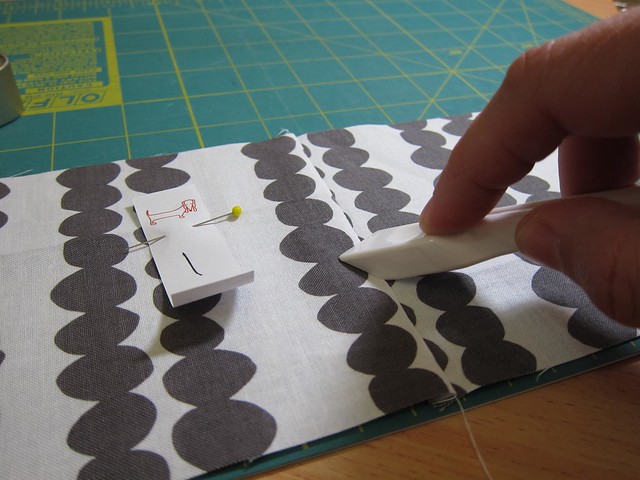
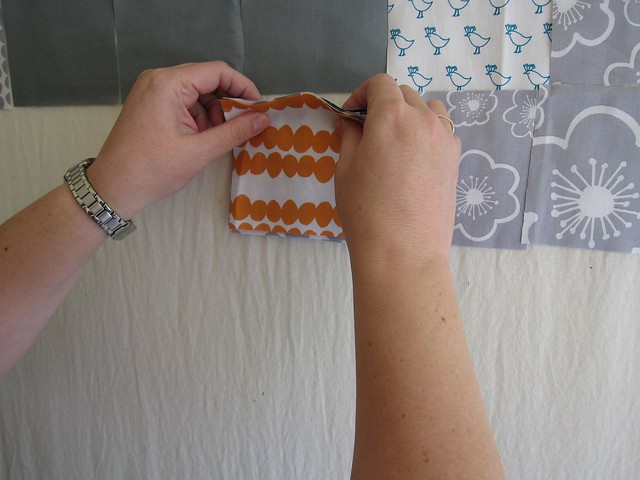
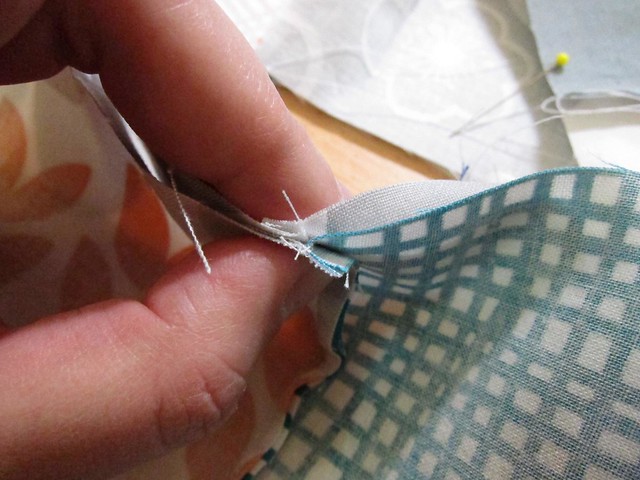
Press the seam to the left, preferably without an iron. I use either a Clover pressing tool ...
Or my fingers. Either work as well as each other.
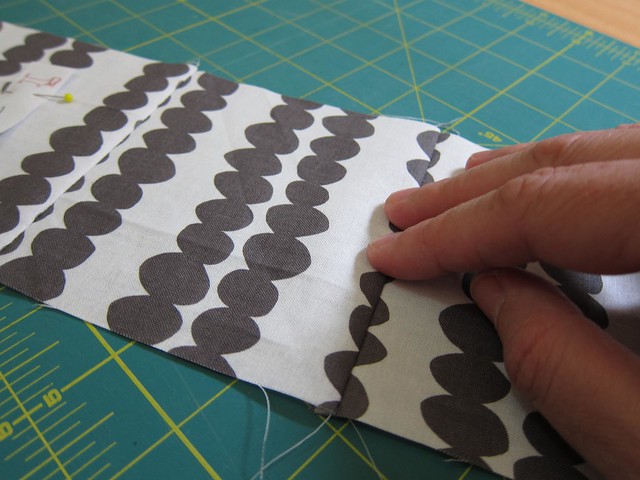
Keep going until you get to the end of the row. Then pick up the pile labelled "2" and do the same thing again, but this time finger press your seams to the right.
You can either keep sewing rows like this until you get to the last one, and then sew the rows together, or you can sew them together as you go. It's really up to you. Put row 1 on the bottom, and row 2 on the top, and start matching the seams. You'll see that my pressing your seams differently they will butt up against each other.

Pin so that the left facing seam doesn't get flipped when sewing it (it will be the row underneath and you won't be able to keep an eye on it from above.
Make sure you press the seams of the odd-numbered rows to the left, and even-numbered rows to the right.
Soon you'll have a reduced pile of rows, and a larger sewn quilt. And you'll keep going and going and you'll wonder why you left the blocks on the design wall for so damn long. See? Not scary at all.
That is really really handy! Thank you! I love the tip about the seams (and that handy dandy pressing tool!)
ReplyDeleteI have been wanting to make the cross quilt. Thank you for the great tips on organisation. Also, love your Moda Bake Shop project. Tried to tweet but cannot find your twitter addy anymore x
ReplyDeleteMichelle, I always stuff it up, but the tip on pressing row 1 to the left, row 2 to the right might just get me out of trouble. That and switching from decaff to the real thing! Also liked your Moda Bake Shop tutorial! Regards,
ReplyDeleteThat's a great tutorial! I've stacked blocks before, but never thought of using clips to hold them together until I've got time to do the actual sewing.
ReplyDeleteExcellent tutorial Michelle - all of it! Love the fabrics and you've chosen a great design to highlight them.
ReplyDeleteLOL. you should SEE my sewing room. I have to move things and move things and move things back. it's a disaster in there! and thanks to you, I've just changed my needle. long overdue! i was thinking about doing it earlier, but you gave me the kick in the pants. great tutorial, thanks!
ReplyDeletealso, chris thile is the shit.
ReplyDeleteI've also found it very helpful to take a picture of it on the project wall, a quick reference if you get mixed up!
ReplyDelete