
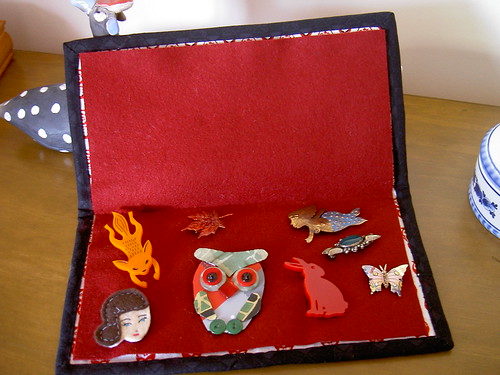
A couple of weeks ago I made a brooch keeper. As promised, here is a tutorial so you can make one for your own collection of brooches. It is designed for holding and protecting your precious brooches, both at home and while travelling.
If you are experienced at quilting, you will find making this a walk in the park. It took me a couple of hours to make all up, but I was also designing it and writing notes as I went along. If you only have a little sewing experience you might find it a little harder, but I'm all for having a go! It's not a great deal of fabric, so give it a try and if you stuff up, it's no great loss. Just get back in there and have another go!
Most importantly, have fun. I did!
And as with all instructions, please read them first before launching head first into it.
What you'll need:
* Main fabric and lining- cotton canvas or something equally sturdy, like upholstery fabric.
* Batting - A scrap piece will do, nothing too lofty. I used 60/40 wool blend, but you could also use pellon.
* Sleeve - Wool blend felt
* Binding - Contrasting patchwork cotton fabric
* Thread - 100% cotton (because I don't like my thread to melt when I'm ironing it). You will need one thread for quilting (cream), one for the binding (black) and one for the felt sleeve (maroon). If you want to use the one colour, that's up to you.
* Sewing machine
* Sharp jeans/denim machine sewing needle
* Safety pins
* Hand sewing needle
* Scissors
* Removable fabric marker - usually removable by ironing or water (check instructions first)
Optional
* Walking foot - much easier for stitching your layers of fabric, as it means your fabric and batting won't be shifting around. But because the project is small you could get away with using a normal foot.
* Cutting mat and ruler
* Rotary cutter
1. Cut:
From the main fabric and lining - 2 pieces, each 10.5" wide and 11.5" high (you need to consider this if your fabric is directional. Basically, the cover is taller than it is wide before it's folded over).
From the batting - 1 piece 10.5" x 11.5"
From the felt - 1 piece 9.5" x 10.5"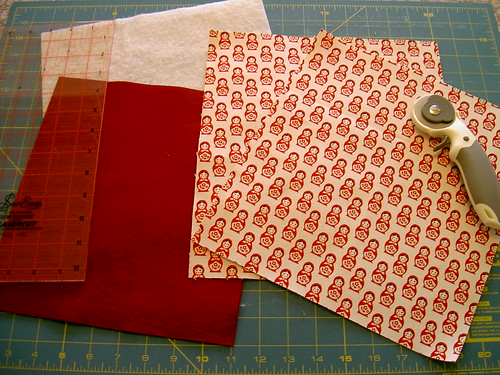
2. Along the longer side of the outer fabric, make a mark at halfway (i.e. 5.75"). Do this on the other long side as well.
3. Draw a line using these marks as indicators. You will stitch along this line shortly, but not yet!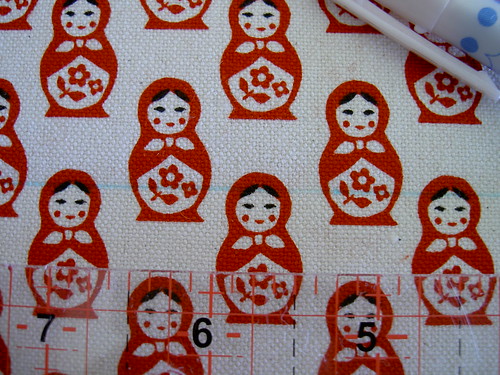
4. Layer the outer fabric, batting and lining, with the batting touching the wrong sides of both the outer and lining. This is the quilt sandwich. Make sure the fabric is perfectly layered, flat and even.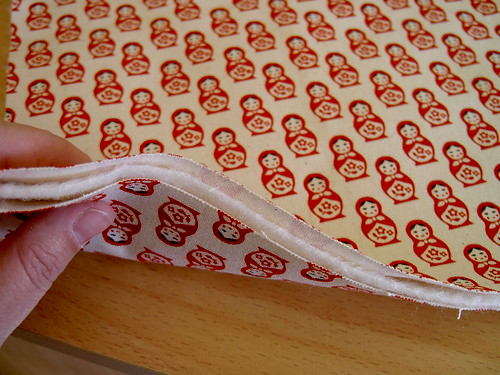
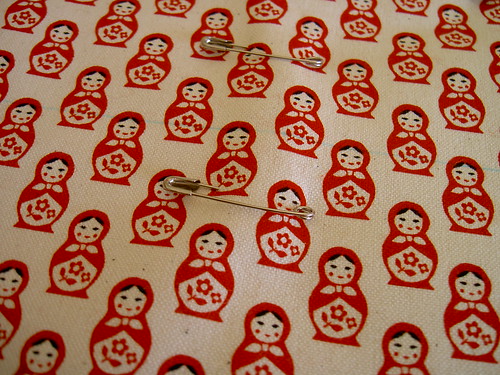
5. Using your safety pins, very carefully pin the quilt sandwich through all layers. Be really careful not to move your layers away from each other, and be careful of puckers as well. Try not to pin near the line you've just drawn, although it doesn't matter too much if you do. 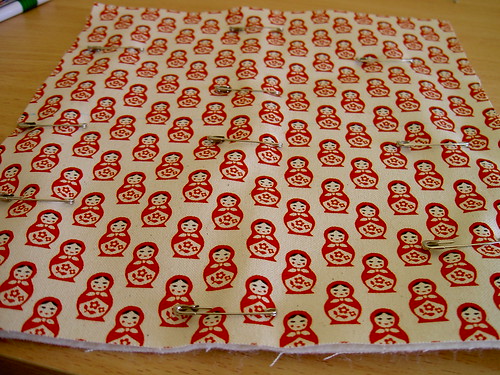
6. Put your walking foot on your machine, and stitch along your marked line. Be careful of your pins. Take them out of the quilt before you run over them with your machine (do I sound like the voice of experience? I wonder why.) 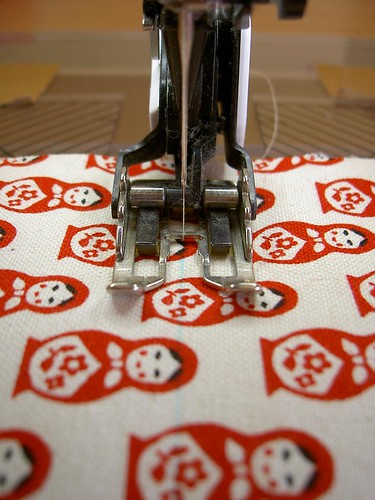
7. When you get to the end of the line, trim your threads. Then stitch another two (2) lines on either side of the original marked line. A couple of millimetres should do it. I usually eyeball the distance, and use my sewing machine foot to work out the distances. These lines will be the fold line for your brooch keeper.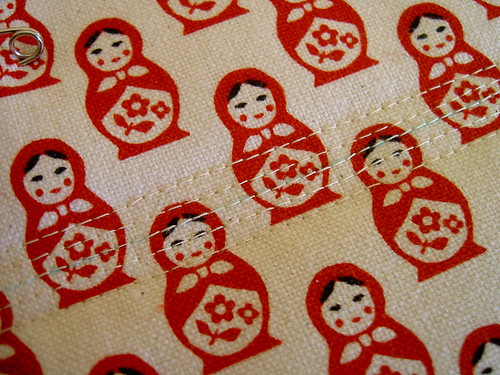
8. On either side of the fold line, quilt as desired. I know - I've always hated when instructions have told me that too. I quilted rectangular shapes, but you could quilt swirls, or flowers, or spirals or vertical lines. You can hand quilt, or use sashiko thread and use big stitches. The most important thing to remember is that this quilting is just being used to keep those layers together, plus it can look pretty. Ensure you don't quilt over the top of your fold line, and make sure you remove those pins as you go!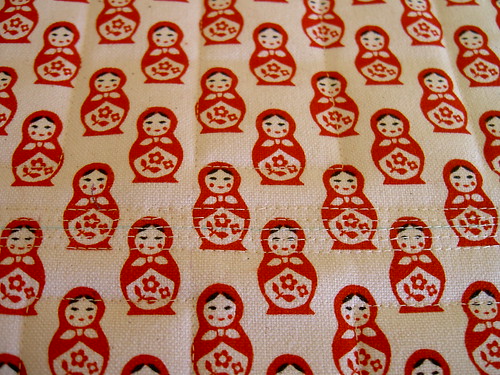
9. Double check that your layers haven't shifted. If there are some threads or a little unevenness, now is the time to trim the edges a little.
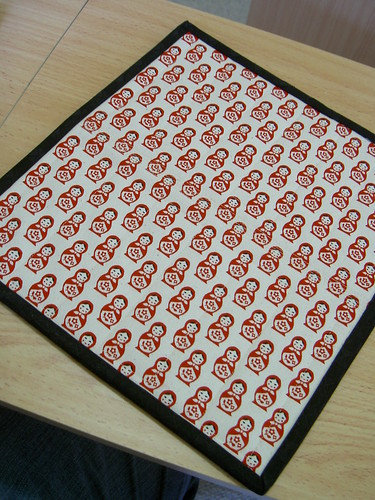
10. This is the step where you bind your quilt sandwich, and the last step before this thing stops looking like a quilt, and starts looking like a brooch keeper!
I'm not going to show you how to do the binding. Go here instead - it's an excellent tutorial. And look, honestly, there are countless tuts on YouTube which can show you quilt binding much better than I could ever hope to. I'll wait here while you master the technique.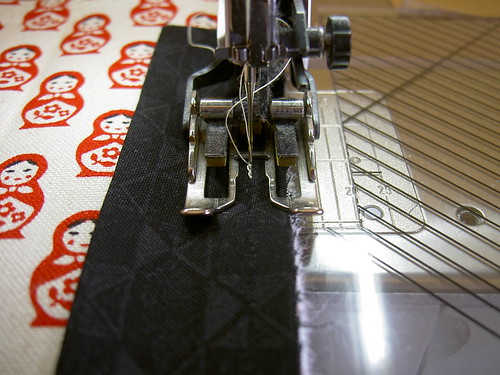
11.Once you've sewn your binding, it's time for a little trick. Fold your quilt in half along that fold line you sewed earlier. Nifty, huh? Now you've seen how the fold works and which side you want the front of the brooch keeper to be (important to know if you have a directional fabric), open it back out again.
Fold your felt in half along the longest edge and pin the two halves together so that they are even. 
The felt sleeve should be just a tad smaller than the outer layers. If it's bigger, then you've folded your felt the wrong way. Try again!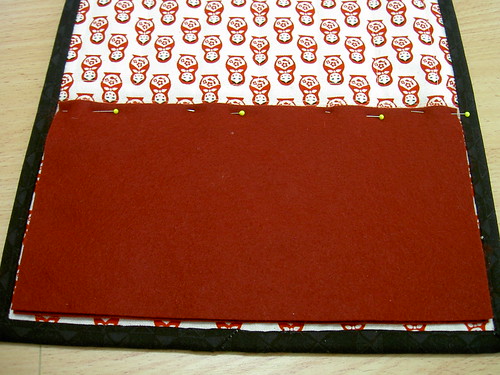
12. Stitch the fold of the felt sleeve onto the lining. I used a whip stitch. Make sure you catch enough of the felt so that it doesn't rip and fall out of the brooch keeper!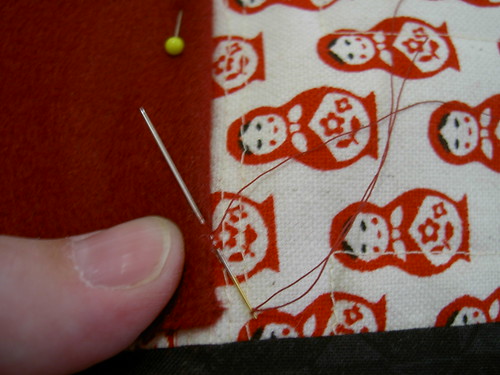
13. Once you've sewn the felt sleeve in, pin your brooches to the sleeve, fold the felt over the top of your brooches to keep them warm safe (see first photo in this tutorial), and close your brooch keeper.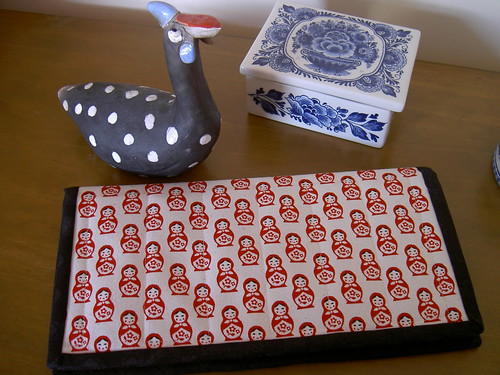
And there you have it!
An excellent tutorial. And I've almost cleaned enough of my spare room that I can reach the sewing machine again, and have somewhere to work. This looks like a great first project after a long break from sewing.
ReplyDeleteamazing tutorial Michelle. Really well done. God I love that fabric. So beautiful !
ReplyDeleteThat's a fantastic tute Michelle! Now I have another thing added to my list of "things I must make soon". Great instructions and lovely fabric, and an excellent idea. Thanks so much for sharing!
ReplyDeleteBTW, the blog over at Sew Mama Sew is having a tutorial contest - you should enter yours! It's great, and original!
ReplyDeleteThis is so cool. Like Thornberry I will have to add it to my projects list. Especially since my brooch collection seems to be growing, including just today winning a Lino Forest brooch.
ReplyDeleteI love that fabric too.
What a great tutorial, very clear and brilliant pics!! Will have to show Dotter too...
ReplyDeleteWoohoo! You make Craft Magazine's blog (http://blog.craftzine.com/archive/2008/05/brooch_keeper_tutorial.html?CMP=OTC-5JF307375954)
ReplyDeleteJust what I need. Looks like the perfect 'hold my hand' tutorial. Thanks for sharing.
ReplyDeleteI've just had a craft book call out drop in my inbox. This would be perfect for it. Send me an email at bandresson(at)hotmail(dot)com and I'll give you the details.
ReplyDeletecoolies - love your babuska doll fabric :)
ReplyDeleteI think I may have to try to make one of these to keep my beaded shawl pins safe in between markets. And if I manage to make it as cute as yours it would be an excellent display as well.
Thank you so much for sharing. And congrats for being shared on so many reputable crafty sites :)
Excellent - love a K.I.S.S. tute! Great idea.
ReplyDeleteThank you so much! I just finished making this. It's a perfect gift for my mom. I know she will love it.
ReplyDeleteThanks! I just made this for my grandmother. I'm a novice sewer and didn't have too many issues (except putting bias tape around the corners). I think I might even get her name embroidered on it! I'm going to give it to her for Christmas with a couple of brooches.
ReplyDelete