Showing posts with label applique. Show all posts

Sunday, November 13, 2016

How to applique your EPP without pins and stress - a tutorial

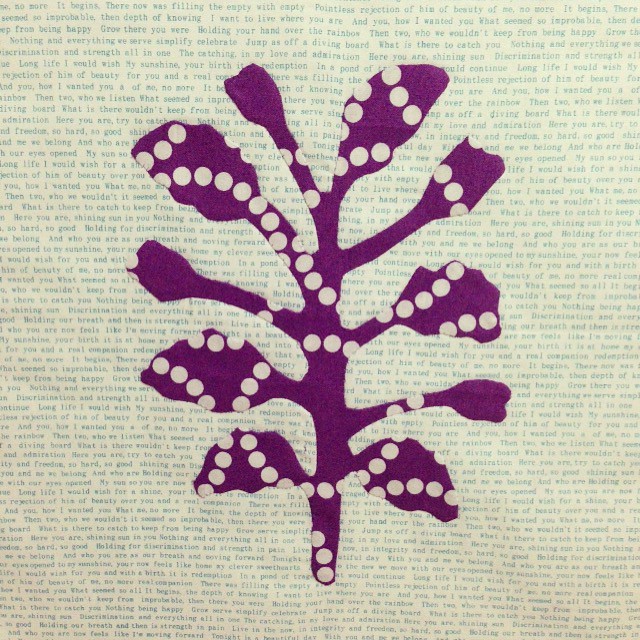
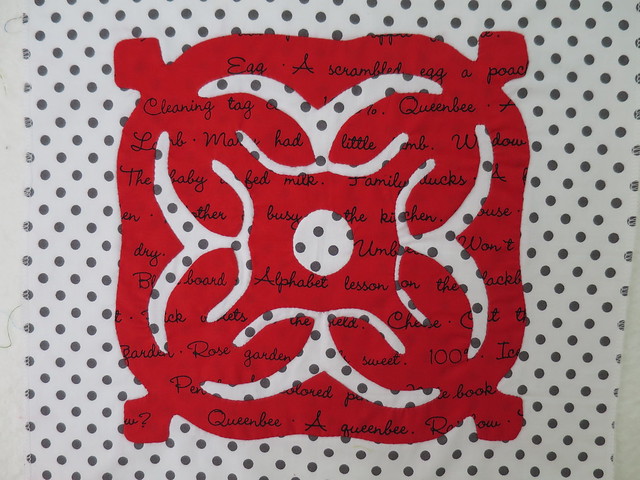
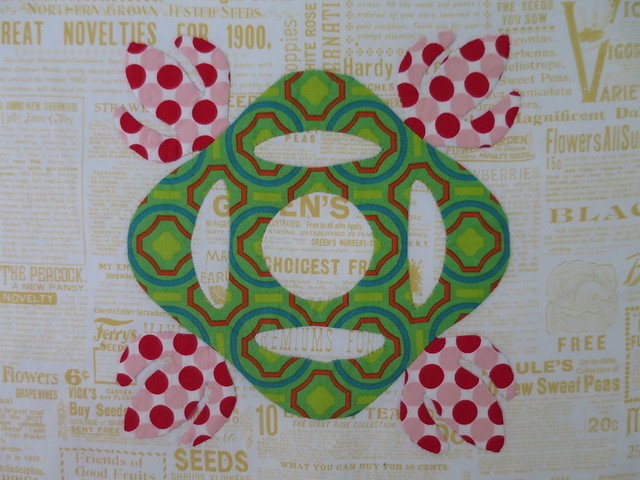
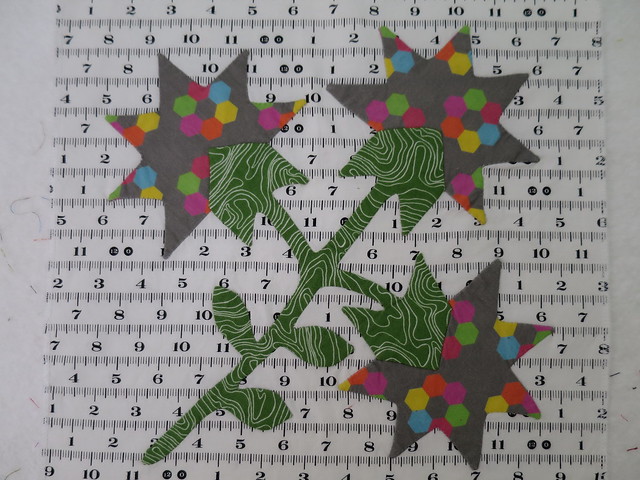
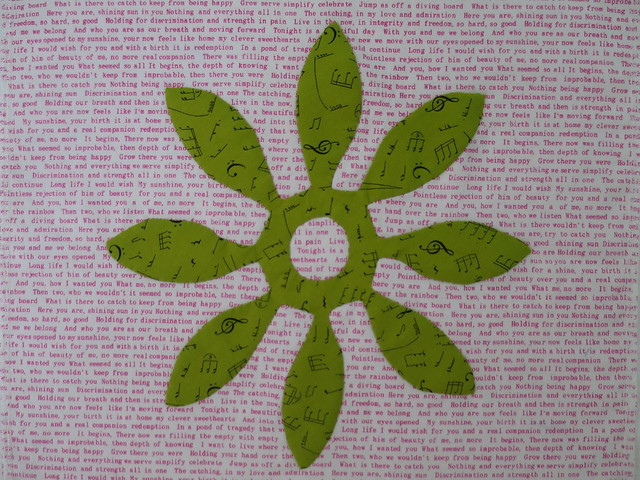
I was making a Project 48 block last night where the instruction was to applique the EPP to a background fabric. It's something I do quite often in my EPP projects, but I find when I explain the concept to people, they sometimes don't understand how I do it, or how easy it is. So on finishing this block, I thought I'd do a little photo tutorial to show you.

This technique works with either blocks, or entire quilts, or side strips. 

(And I'll apologise now for the state of my hands and the macro shots. I've been gardening like a mad woman the last couple of weeks so my hands are a mess; and my little Canon camera has a mind of its own on the macro setting, giving me a horrible glamour filter each time. It's like a freaking Doris Day movie every time I look at the photos. Probably best given the state of my hands, but sorry about that.)


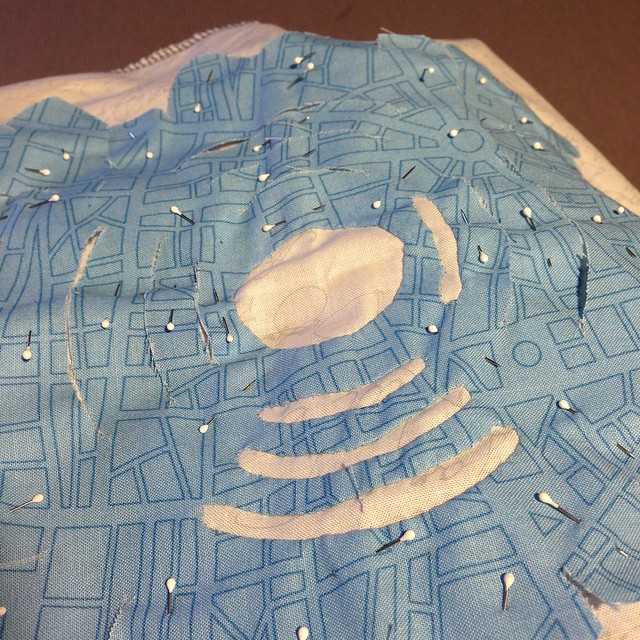
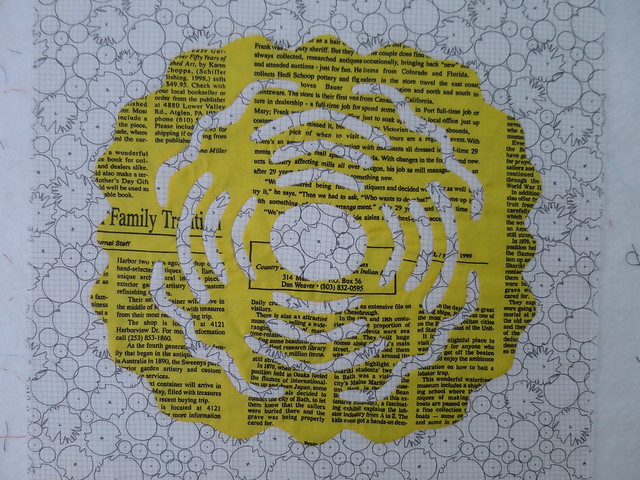
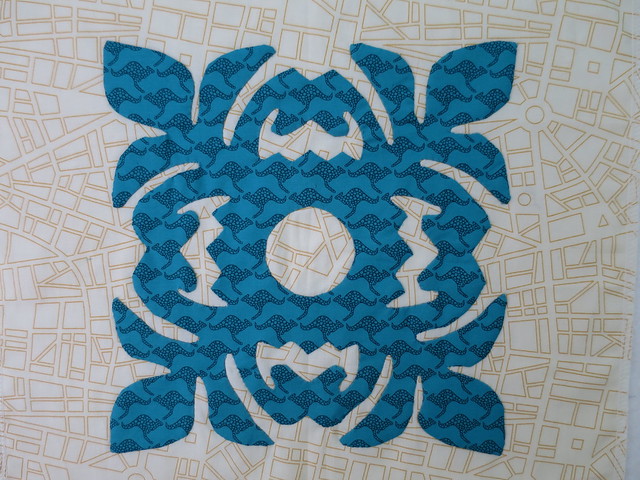
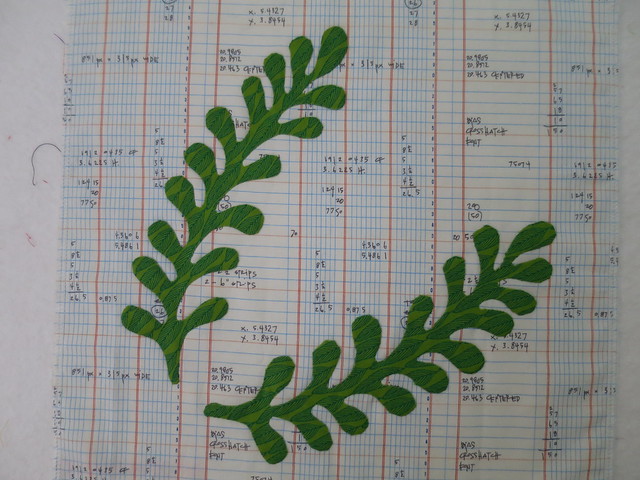
So this is your finished EPP block, unpressed but still gorgeous.


And here is the back of it.


Give the back a bit of a press with a hot steamy iron. Don't push back and forth. PRESS. You want to put a permanent crease in those outer shapes, especially.


If you've glue basted as I have, take a cuticle stick (one of the wooden ones you get in packs of 3 at Priceline) and gently use it to lift the fabric from the paper. It will kind of pop. 

If you have used a scant amount of glue, kept the glue away from the edge, and used a decent seam allowance, this will be easy. If you haven't, then you're doing EPP wrong. Sorry, but you are. I'll come by another time and show you how to EPP properly, I promise.


Use your cuticle stick to lift out the papers as you release them from the glue. 

Or if you have thread basted, just clip the threads and pop the papers out!


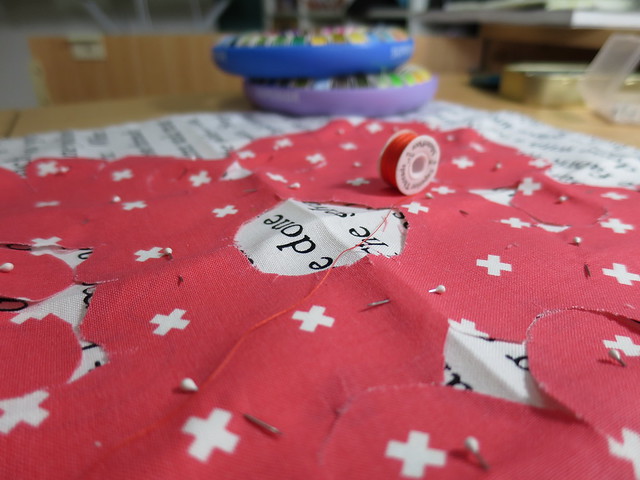
This is the back of the block after all the papers have been removed. Don't worry about the seam allowances that have lifted, because ...


... you'll get the chance to give them a bit of a press. Again, PRESS, don't move the iron back and forth. You want those seams to maintain integrity. If any of the seams move and go a bit skewiff, just use your fingers to re-position them and press them gently back into place (preferably without burning your fingers). Easy!


Grab your spray starch of choice. Mine is Crisp because I can get it easily at my IGA. Yours is probably something else a lot cooler and funkier. It doesn't really matter. 

Give the front a quick spray of the starch and press with a dry iron. Do the same with the back, pressing so you don't dislodge all the fine work you have done with your seam integrity :).

Your EPP block is now prepared for the next step!


Take your background fabric, and press it in quarters and open it back out so that you have registration lines for placing the EPP on top of it.


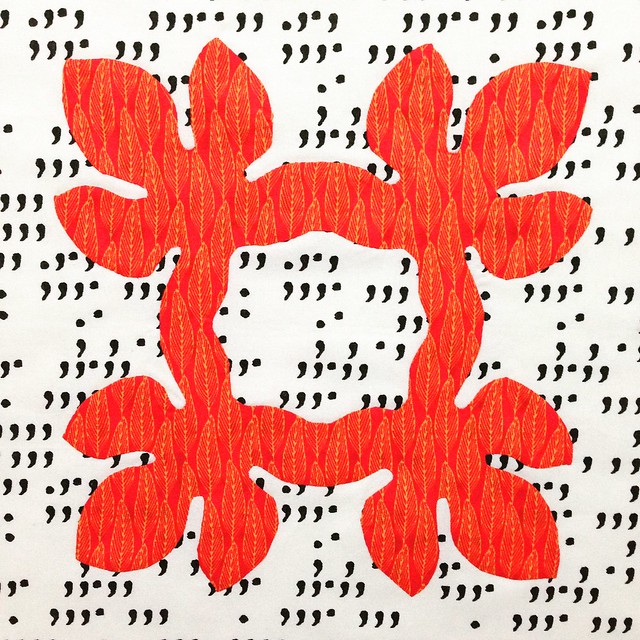
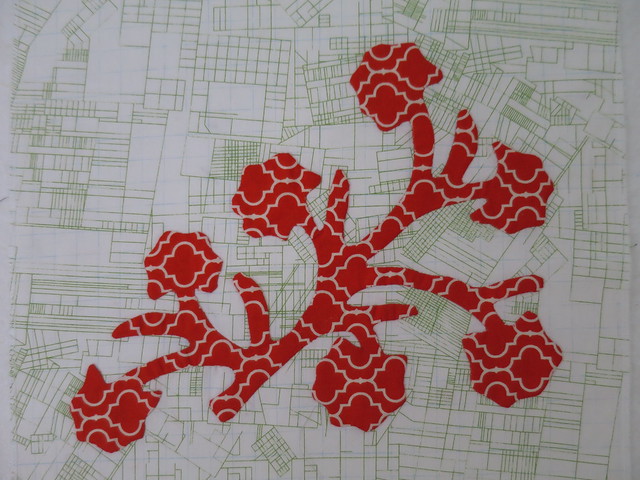
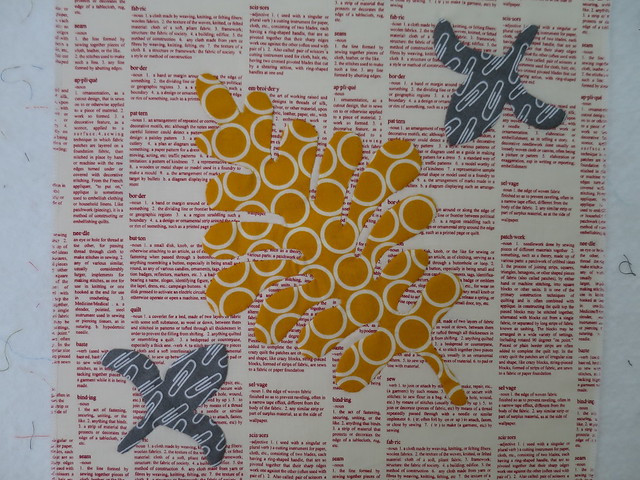
Position your EPP on top of the background. See how it is centred perfectly?


Roxanne basting glue is your new little friend. I use the one with the steel nozzle because it makes gluing minimal and accurate. Very important!


Fold your positioned EPP block gently forward at the half way line without moving it off the position you placed it in. Gently dab a little dot of glue inside the seam line, just on the corners will do it. This is where it pays to have a 3/8 inch seam allowance on your EPP. Trust me - you do NOT want this glue anywhere near where your needle will be because it when it is hard it is damn near impossible to get your needle through it and your will curse this technique forever and ever. 


When you have glue dots on all the corners, gently flip your block back to where it was originally. 


PRESS the glue dry with your iron (dry iron).


Now flip the bottom half back and dot with glue again. Don't forget to also add glue at the seam allowance near the centre line. Flip it back...


...and press. The glue should now have dried. 


This is how I double check it's all attached. Just kidding. But look! No pins required!


Find your best matching thread. I use Superior Egyptian cotton exclusively for all my applique because it's bloody lovely. And no one is even paying me to say that. I get it in the donuts in all the colours because I do so much applique in so many bright colours. But other people swear by Aurifil 50/2 cotton, or silk, or Superior bottom line. Use whatever you can afford and whatever suits the work you do.

As for needles I only ever use Clover Gold Applique No. 10. I tried the Hiroshima Tulip needles but they weren't as bendy for my style of applique (I swear by Tulips for EPP though). Again, use the needle that suits you the best.


Knot your thread and come in from the back. Start a little beneath the applique, and just catch a couple of threads at the seam fold.


I do a stitch every 2-4 mm.  Depends on the curves an intricacy. But this is an EPP block with straight edges - every 4-5 mm will do the trick.


The points are important. Make sure you take a stitch at each one to secure it. If you don't, your points can invert when you wash or iron the block again.


And here's what the back looks like.

Keep going until the whole block is appliqued. You can choose to cut the back out if you like, later. Just carefully trim 3/8 inch inside the stitching lines with sharp scissors, making sure you don't cut through the front part.

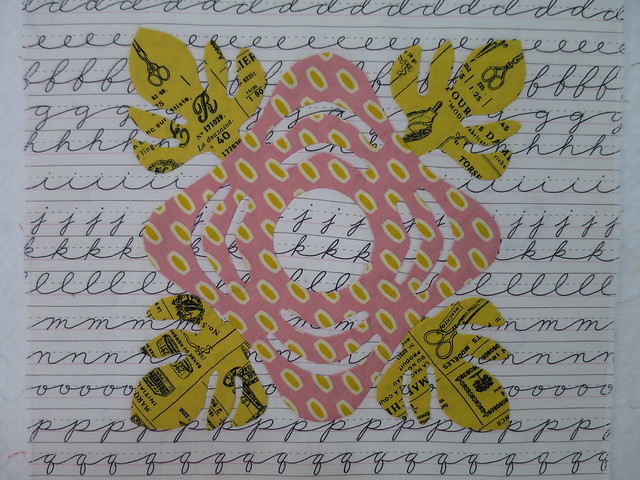
And there you have it! Told you it was easy!

Please ask any questions in the comments below and I will answer them there. Hopefully you'll find this tutorial helpful!

Tuesday, February 9, 2016

An update on Chester

Since I last wrote about my Chester Criswell quilt 5 week ago, I've managed to make seven blocks. SEVEN! I'm not too sure how that happened as it seems like such a rare thing to have the time to sit on my butt and sew, but being a massive tennis fan probably helped, as did a four week holiday and then yesterday (when I made my seventh block) sitting by a hospital bed.

Untitled

Guys, this is Rachel Dickey. Rachel, meet everyone.

Untitled

Mary Wilson. This block proved I really need to mark out my appliqué piece placement before I pin the pieces down. That top right red tulip bit was unpicked twice. Single piece blocks are so much easier.

Untitled

Jesse Jackson Smith was appliquéd in a night. So fast. Single piece block - see what I mean?

Untitled

Lovely Eliza Whiteside with her inability to trace and cut the pattern properly. I love that this block has replicated the original with all its faults. And then I've added some faults of my own (all charming ones of course).

Untitled

Adaline Gibson was another quick block - done over two nights. She's my 15th block, and marked the end of the 15 background blocks I'd precut a few years ago. Time to cut some more. Luckily I have a stash of text fabric.

Untitled

This was finished during the men's tennis semi final last weekend - Elizabeth Cummins. I love those little hearts, and how it looks like people holding hands. I thought the fabric would give me a headache, but it didn't (this photo does though).

Untitled

Elizabeth Crosby, also known as The Deathstar (seriously!) because of this photo:

Untitled

After I got back from the hospital last night, I put all 17 blocks on the design wall to decide where to go, along with some prepared blocks. I have also prepared a massive 24 inch block which was made by the bride's mother. It is very intricate and looks very difficult and I worry that such a huge block will detract from the look I have going on here. I will leave it on the design wall a bit longer and have more of a think. I want to make 25 blocks, and this block would mean I wouldn't have to make 4 of them. But then again ... so many curves and corners to be done, and it is kind of intimidating.

Untitled

Where to from here? But do I want to hand quilt it? Machine quilt it? Enter it in a quilt show this year? I don't know, but I know I have rediscovered my love for these blocks and I just can't see myself stopping making them for quite a while. Also I'm on carer's leave for the week while my husband recovers from another hip surgery so I'm sure there will be stitching during the napping.

Tuesday, January 5, 2016

We need to talk about Chester

Sharon from Two Bits Patches, the creator of the Chester Criswell Block of the Month that I started three years ago, has decided to start sending emails once a week to reinvigorate those of us (*cough* like me *cough*) who had fallen by the wayside. It was the gentle kick up the butt I needed. I mean, there's only so much needle turn appliqué a lady can do before she goes stark raving mad! No wonder I'm so slow (I'm intensely insane already).

Chester Criswell is a very traditional signature album quilt - originally made in turkey red and green back in 1852 in Pennsylvania. I'm a traditional kind of quilter, but I'm not one for the traditional colour palettes so I've been doing mine in bright modern fabrics, on a text (or course) low-ish value background.

I've had the nine blocks I thought I'd made so far up on the design wall the last few weeks (and then today I found a tenth!! Oh Reuben Stubbs - you always were trouble) so I thought I'd finally document them and put them up here on the blog for posterity and fact checking (this is how I found the tenth block, actually. He was on the blog a few weeks ago. I knew Reuben wasn't a figment of my imagination!)

1. Jane Wilson
1. Jane Wilson

2. Elizabeth Cowan
2. Elizabeth Cowan (done using a different technique with "wash out" stabiliser. I hated the technique, and it didn't wash out at all. I would love to do this one again one day.)

3. Priscilla and Joseph Turner
3. Priscilla and Joseph Turner (again, done with the dodgy technique described above before I realised the evil stuff wouldn't wash out (and hence why the grey fabric has gone crinkly)).

4. Nancy and James R Smith
4. Nancy and James R. Smith

5. James Carlile
5. James Carlile

6. Reuben Stubbs
6. Reuben Stubbs 

7. William and Harry Clendenon

21. Mary Trayner
21. Mary Trayner (this is when I took the blocks back up after more than a year's break and decided to start working backwards. Didn't last long.)

23. Mary Watkins
23. Mary Watkins

25. Sarah Stubbs
25. Sarah Stubbs

It's a wet and cool day in Canberra today so I've spent this morning at the pool (naturally) and this afternoon avoiding the mess in the kitchen and prepping block 10 Rachel Dickie. Once I deal with the mess in the kitchen, it'll be leftovers for dinner, a nice gin and tonic, The Flash on DVD and Rachel and me.

Rachel Dickie in progress

I really love holidays!

Anyone interested in a tutorial on how I prepare my freezer paper appliqué? Or are you all down with that already?

Friday, February 1, 2013

The Chester Criswell Quilt

This year for me is the year of the quilt. I'm going great guns getting through my stash, planning some classes and setting myself new challenges.

I would like to finish more than I start, but apparently I wasn't born with the finishing gene so I'll just have to accept the gift (aka the starting gene) that God granted me.

Late last year someone on an Australian quilting list I'm on was talking about a block of the month program they were establishing, using an old quilt they had reproduced the blocks from. The quilt was called the Chester Criswell quilt. It was an old album quilt, made for a wedding in 1852 and made in the traditional greens and reds of the time.


Photo from http://chestercriswellquilt.blogspot.com.au/2012/07/introduction-to-quilt.html

Those traditional colours aren't really my thing anymore - my country and civil war reproduction fabric period had long passed (which you will notice if you come to my trash and treasure stall on Sunday) but I wondered if it was the kind of quilt I could do with some unique fabrics - a bit brighter, a bit cheekier, a bit more clashy.

A bit, dare I say it,  modern. Gasp! She used the "m" word, mum!

So after Christmas I signed up. I had been following the blocks on Sharon's blog as she released them each month and it all became too tempting. And I'm so glad I did - each block has a history of the person who made it, and it's just such a great read and very entertaining.

Block 1 - Jane Wilson

This is Block 1, originally made by Jane Wilson 150 years ago. My preferred method of applique is the freezer paper technique. But I hadn't appliqued anything for years. Talk about nerve wracking.

Block 1 - Jane Wilson

Each day I would head over to the park across the road from work and spend an hour stitching.

Block one - Jane Wilson

And here's my first block done! It's not perfect by any stretch of the imagination, but it's mine and I love it. And that fabric by Kumiko Fujita? Dying over here.

Block 2 - Elizabeth Cowan

Block 2 was by Elizabeth Cowan. I'm using a different technique this time - washable fusible interfacing. It's certainly less crunchy but doesn't give as clean an edge as the freezer paper technique. I'll practice a bit more before deciding whether to go back to freezer paper. Or trying another technique altogether. I really don't know - I'm just enjoying my lunchtimes in the park too much.

I love how the different fabrics are making these blocks something a bit unusual, and I'll get a quilt at the end of the process which is more in keeping with my style. Plus I'm learning some new things as I sew (I'm already nervous about Nancy Smith's Block and how tiny those seam allowances are going to be) and that's a win in my book.

If you're interested in applique and want to give this a go, I can highly recommend it. After my last applique quilt I swore I would never do it again, and yet here I am, enjoying myself thoroughly. The first block is actually free, and all the other blocks after that are a measly $2.50 each. $2.50 for a good read and a bit of history AND a quilt block pattern? Bargain.